Pantry Remodel: What It Costs and What Actually Works
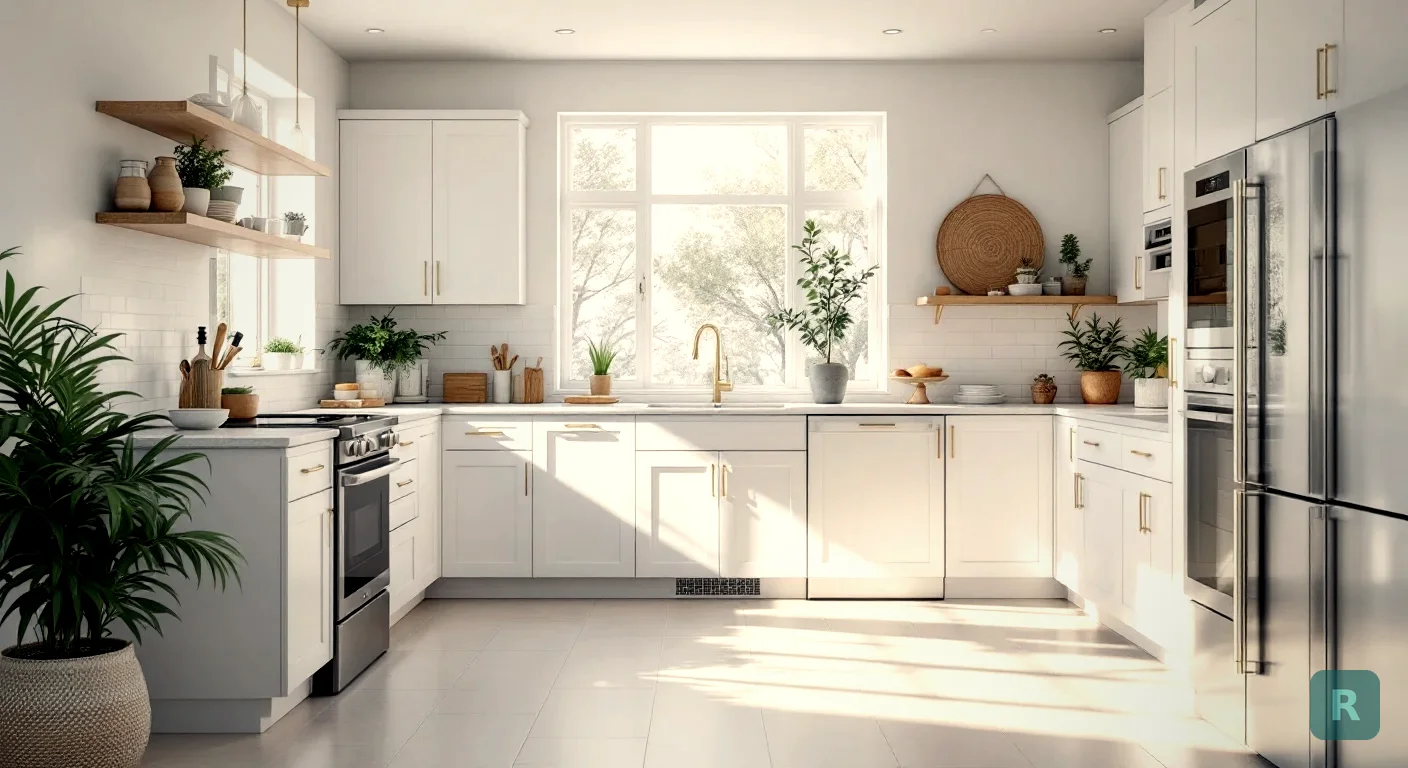
A pantry is the smallest room most people ever remodel, and it is the one they get wrong most often.
Not because it is hard. Because they copy a photo.
They save a picture of a walk-in with matching glass jars and oak shelves, hand it to me, and the space behind the door is 28 inches wide with a water heater vent running up the corner. I have had that conversation on jobsites more times than I can count. The photo was never the problem. Nobody ever saw the photo laid into their own room.
Key Takeaways
- A pantry remodel splits into three very different jobs, and the price gap between them is roughly ten to one
- Shelves deeper than 16 inches lose food, no matter how much storage the depth looks like on paper
- Lighting and a door that swings the right way matter more to daily use than the shelving system does
- Converting a closet or under-stair space is the best value in the house if the framing cooperates
- See the finished pantry in your actual space before you buy shelving, not after
The Three Pantries, and Why the Price Swings So Hard
People say “pantry remodel” and mean one of three jobs. The budgets are not close.
The first is the cabinet pantry, a tall cabinet or a reach-in behind a standard door. You are replacing shelves, adding pull-outs, painting, maybe swapping the door. This is a weekend and a few hundred dollars in materials.
The second is the walk-in conversion, usually a coat closet, a dead corner, or the space under a staircase. Now you are touching framing, a light circuit, drywall and finish work. This is where most real pantry projects land.
The third is the butler’s pantry or scullery. Counter, cabinets, sometimes a sink, sometimes a second dishwasher. That is a small kitchen, and it should be priced like one.
These are my Pacific Northwest numbers for a project done right, permitted where it needs to be, with real materials. A different market moves them. The shape of the spread does not change.
The Depth Mistake That Wastes Half a Pantry
Here is the thing homeowners never believe until they live with it. Deep shelves do not store more food. They store the same food and hide most of it.
Anything past about 16 inches deep becomes a place where cans go to disappear. You reach in, you push, you find a jar of something from two Thanksgivings ago. I have pulled 24 inch shelves out of pantries and replaced them with 14 inch shelves, and every single time the homeowner tells me they have more usable storage than before.
What actually works, by what you are storing:
- 12 to 14 inches for cans, jars, boxed goods, spices on a shallow ledge
- 14 to 16 inches for small appliances and cereal-box-sized packaging
- 20 to 24 inches only at the bottom, for bulk, bins and the stand mixer
- Adjustable pins, not fixed cleats, because what you store in year four is not what you store now
Vary the spacing too. A pantry with five identical 14 inch gaps is a pantry that cannot hold a cereal box standing up.
Shelves Sag, and Nobody Plans for It
Canned goods are heavy. A three foot run of melamine shelving loaded with tomato cans will bow inside a year, and once it takes a set it never comes back.
Keep unsupported melamine spans under about 32 inches, or step up to 3/4 inch plywood with a hardwood edge band. That edge band is not decoration. It stiffens the front of the shelf where the load wants to bend it. My dad taught me that on kitchen jobs thirty years ago and it is still the cheapest upgrade in the room.
If the run has to be longer, add a center support or a cleat on the back wall. A pantry is one of the few places where a visible support is fine, because the food hides it anyway.
Wire and ready-made systems are sized for closets, not pantries. Frame and finish the space first, measure the real opening, then order. I have watched three separate clients buy a system on sale and then pay me to fur out a wall so it would fit.
What Is Behind the Wall Decides the Budget
This is the part that turns a $3,000 conversion into a $7,000 one, and it is the reason I never price a pantry off a photo.
Closet-to-pantry conversions live or die on what is in the wall cavity. A plumbing stack, a dryer vent, an electrical panel feed or a bearing wall changes the entire scope. In older homes around here I open a closet wall expecting studs and find a stack that was never on any plan.
Under-stair pantries have their own trick. The headroom slopes, so the back third of that space is only good for bulk storage on the floor, and the framing under a staircase is often carrying load you cannot cut without an engineer’s blessing.
A few things that regularly show up mid-project:
- Old wiring that has to come up to current code once you open the wall
- A door swing that eats the only wall you wanted shelves on
- No circuit anywhere near the space for lights or an outlet
- Floor height changes where a closet was built over the subfloor
Put 15 to 20 percent aside on any conversion that opens a wall. Not because your contractor is guessing, but because nobody can see behind drywall until demo day. If you never need it, you have money left for the door and the light.
Light and the Door Beat the Shelving System
Ask someone what they hate about their pantry and they will say storage. Listen a little longer and it is almost always light.
A single ceiling can placed behind an inswing door puts your own shadow on every shelf you are trying to read. Put the light forward of the door swing, or use an LED strip down the front edge of the shelves, and wire a jamb switch so it comes on when the door opens. Cheap, and it changes how the room feels every day.
The door matters just as much:
- Inswing door: costs you a wall, the most common mistake
- Outswing or pocket: gives you the wall back, needs clearance outside
- Barn door: no swing at all, but it eats wall space beside the opening and never seals
- Open archway with a cased opening: my favorite for a butler’s pantry, terrible for hiding clutter
Moisture, Vents and PNW Reality
Food storage against an uninsulated exterior wall is a bad idea anywhere it gets cold, and it is a worse idea where it rains eight months a year. I have opened up pantry walls in older Pacific Northwest homes and found the back of the drywall damp behind a wall of canned goods that nobody had moved in a decade.
If the pantry backs an exterior wall, insulate it properly and leave an inch of air behind the shelving. Do not vent a dryer or a bath fan through that cavity. And skip the pantry entirely on a wall that shares a chase with an uninsulated crawlspace.
Style Is Where the Photo Problem Comes Back
A pantry reads as part of the kitchen even with the door shut. Trim, paint and hardware have to match the room they open into, and that is exactly the decision homeowners freeze on.
Open shelves with jars look great in a photo and demand real discipline to live with. Doors on everything is calmer and costs more. Painted interior in a color instead of builder white is the single cheapest thing you can do to make the space feel designed.
This is where I used to send people to Pinterest and then show them photos of my own past jobs. It half worked. They could see a pantry. They could not see their pantry.
That gap between “I like this photo” and “I can see it in my room” is the whole reason I built ReVision AI. Take a photo of the closet or the corner you want to convert, pick a style, and see it finished before anybody orders shelving. Browse the before and after gallery or look through all 21 design styles to see what the range looks like.
If you want the wider picture on planning a project this way, I wrote about using AI for remodeling and what an AI remodel actually gets you. For the storage side of the house, closet remodels are a close cousin with a different set of rules.
Doing It in the Right Order
Most pantry projects go sideways because the shopping happens before the planning. Run it like this instead.
- Measure the real space. Width, depth, height, and where the door swings. Write it down.
- Decide which of the three pantries you are building. Cabinet refresh, walk-in conversion, or butler’s pantry. The budget follows from this, not from the photo.
- Find out what is in the wall before you commit to a conversion. Have someone check for plumbing, wiring and bearing conditions.
- Visualize the finished room in your own space. Photo in, style out, and see it before you spend.
- Plan the light and the door swing on paper, at the same time, before shelving.
- Set shelf depths by what you actually store, with adjustable pins and varied spacing.
- Order shelving last, from measurements taken after framing and drywall are done.
- Hold back 15 to 20 percent for what shows up behind the wall.
Number four is the one people skip, and it is the cheapest step on the list. See what your pantry could look like before you buy a single shelf. Try it free with ReVision AI and run three transformations on your own photos.
Get Design Inspiration Weekly
Fresh room makeover ideas, renovation tips, and style guides delivered to your inbox.
Design tips and inspiration only. Unsubscribe anytime.
Related Articles
Sunroom Remodel: How to Turn a Three-Season Room Into Space You Actually Use
A contractor's guide to a sunroom remodel: three-season vs four-season, glass and insulation costs, heating options, rot risks, and how to see the finished room first.
8 min readBathroom Addition Cost: What Adding a Bathroom Really Runs
A contractor's breakdown of bathroom addition cost: the three ways to add a bath, why the drain path sets the price, and the hidden costs that show up after demo.
8 min readBest Kitchen Floor: What Actually Survives a Real Kitchen
A contractor's take on the best kitchen floor: how tile, LVP, hardwood and laminate really hold up, what each costs installed, and how to see it in your room first.
8 min read