Closet Remodel: Real Costs, What the Work Involves, and How to Lock Down the Design
Key Takeaways
- Closet remodels range from a few hundred dollars (prefab DIY) to $25,000+ for a high-end custom walk-in
- The most common mistake is starting without a clear design - changes mid-project cost money every time
- Reach-in upgrades are strong DIY candidates; custom built-ins and room conversions are not
- A closet doesn’t exist in isolation - nail down the adjacent room’s style first, then build the closet to match
- Visualizing your bedroom before finalizing closet finishes prevents costly mismatches
Closets don’t get the attention kitchens and bathrooms do. But a well-planned closet remodel can change how you use your home every single day. I’ve seen homeowners put up with dysfunctional wire shelving for a decade, finally do the remodel, and wonder why they waited so long.
The decisions you make upfront - type of system, materials, lighting, and how it connects to the rest of the room - determine whether this goes smoothly or turns into a money pit.
Types of Closet Remodels (And What Each One Actually Involves)
Not all closet projects are the same. The scope changes a lot depending on which type you’re dealing with.
Reach-in closet upgrade. The standard single-bar, one-shelf setup that came with the house. An upgrade usually means adding an organization system - double-hang rods, shelving, drawers, shoe storage. Often a reasonable DIY project with a prefab kit from IKEA, Elfa, or ClosetMaid. Demo is light, and most of the work is assembly and installation.
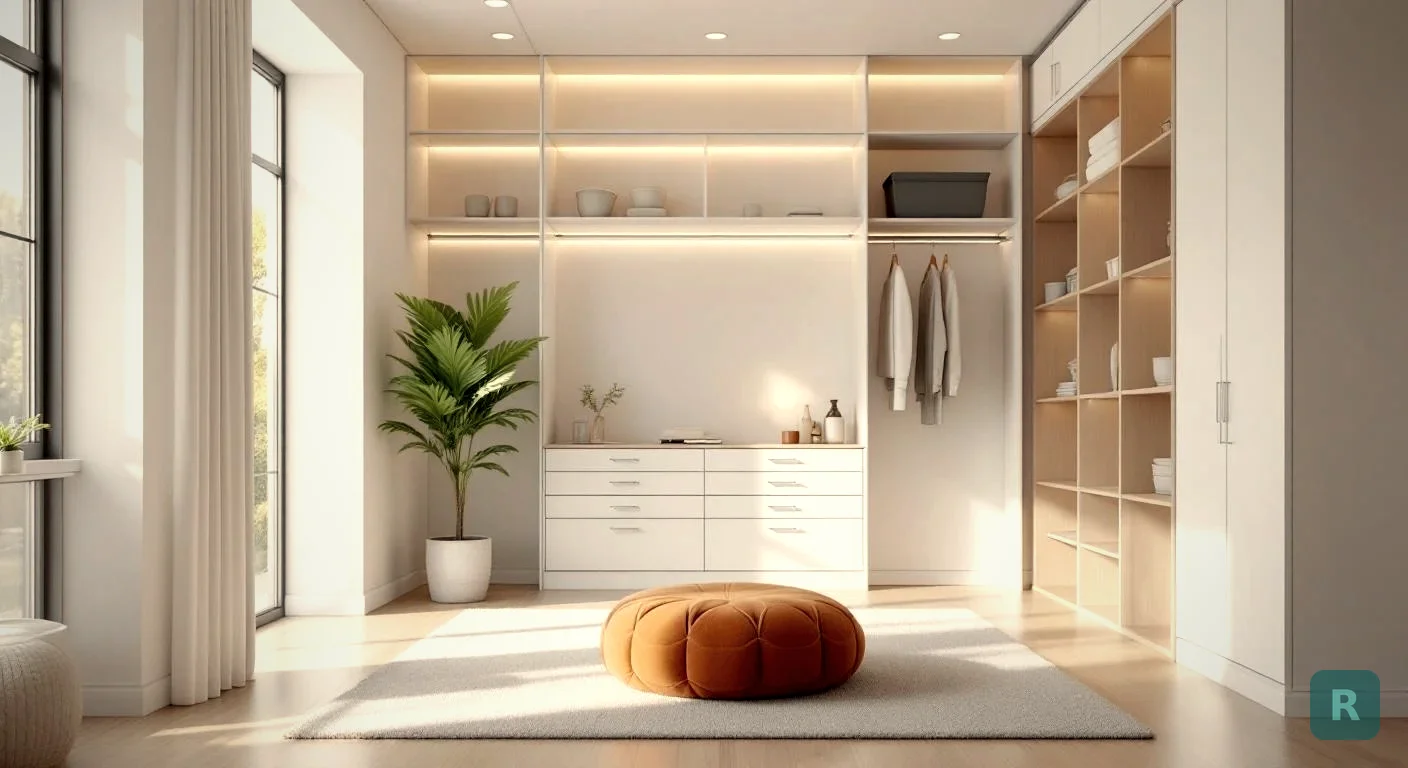
Walk-in closet remodel. If you already have the space, a remodel typically means ripping out old wire shelving and installing custom or semi-custom built-ins, adding proper lighting, possibly a center island or full-length mirror. More materials, more decisions, more labor.
Room-to-walk-in conversion. This is where the complexity jumps. You’re reconfiguring space - adjusting a door, adding electrical for lighting, finishing what was previously unfinished space. This is a job for a licensed contractor, not a weekend DIY project.
Built-in wardrobe installation. Common in older homes or rooms without existing closet space. Floor-to-ceiling built-ins can replace or supplement a closet entirely. The result looks custom and integrated - because it is. The cost reflects that.
What a Closet Remodel Actually Includes
I want to be direct here because homeowners get surprised by what’s involved once you open things up.
A typical closet remodel includes:
- Demo of the existing system (wire shelving, rods, brackets, anchors)
- Patching and painting after demo
- Any framing changes if the layout is shifting
- Electrical for new lighting (this adds cost if wiring isn’t already in the right spot)
- Installation of the new shelving, drawers, and rod systems
- Trim, paint touch-ups, and door hardware to finish
Lighting gets underestimated every time. I’ve seen beautiful custom built-ins installed in a closet with one bare bulb overhead, and the whole thing feels dark and dysfunctional. Good lighting - LED strips plus a quality overhead fixture - makes the system actually usable. If the wiring isn’t already positioned where you need it, you’re adding an electrician to the project.
Decide on your lighting layout before finalizing shelving placement. Recessed cans, LED strips under shelves, and a good overhead fixture all require specific rough-in positions. If you finalize the shelving design first, you might end up blocking where the electrician needs to run wire. Lighting first, built-ins second.
DIY or Hire a Contractor?
A reach-in closet upgrade is one of the more accessible home DIY projects if you’re comfortable measuring, drilling, and reading instructions. Prefab modular systems are designed for homeowners.
Custom built-ins are a different story. Once you’re dealing with cut-to-fit cabinetry, integrated lighting, framing adjustments, or anything touching the electrical panel - hire it out. The finish quality on custom closet built-ins is visible every day. Gaps, uneven lines, sloppy paint - you see it every morning. That’s not the place to practice carpentry.
| Project Type | DIY | Hire a Contractor |
|---|---|---|
| Prefab modular system | Strong fit | Overkill for simple scope |
| Custom built-ins | Risky - finish is exposed | Right call |
| Electrical work | Requires permit + license | Required |
| Room-to-closet conversion | Not recommended | Required |
| Painting after demo | Good fit | Your call |
If you’re not sure which category your project falls into, get a contractor in for an estimate. A good one will tell you honestly what can be DIYed and what shouldn’t be - and if they tell you everything needs to be hired out, that’s a flag worth noting.
Lock Down the Room’s Style Before You Design the Closet
Here’s a pattern I see often: homeowners plan the closet completely separate from the bedroom it connects to. They pick hardware, paint color, and shelving material without considering the room’s direction. Then they finish the closet and realize the warm walnut tones don’t match the cool gray palette they’re going with in the bedroom.
A closet doesn’t exist in isolation. The walk-in off your master bedroom should complement - or at least not fight - the bedroom’s design language. Dark matte hardware reads different against a Japandi bedroom versus a Traditional one. White lacquer built-ins work beautifully in a Scandinavian bedroom and look cold in a Bohemian one.
I’d recommend locking in your bedroom’s direction before you finalize a single closet finish choice. The ReVision AI style library is a fast way to test a few directions on your actual bedroom - snap a photo, run it through Japandi, Modern Farmhouse, and Coastal in a few minutes, and see which one clicks before you spend anything on materials.
Before finalizing closet hardware, paint color, or shelving material, use ReVision AI to run your bedroom through 2-3 style transformations. The closet design should reinforce that direction, not fight it. Five minutes of visualization can prevent a $500 mistake on the wrong hardware finish.
That kind of upfront planning keeps you from making expensive mid-project changes because you didn’t think about the bigger picture first. And it gives you something concrete to show the contractor - “here’s the style we’re going for in the bedroom, design the closet to match” is a much better brief than describing it in words.
Check out the before-and-after gallery to see how different rooms look across different styles - helpful for narrowing down your direction before you commit.
What to Ask Your Contractor Before Work Starts
Go into the contractor conversation with these sorted out:
- Know your must-haves: full-length mirror, shoe storage, drawer section, island (walk-in only)
- Have a photo of the closet as-is, and photos of the adjacent room you're trying to match
- Know your material preference: custom cabinetry vs. semi-custom vs. modular system
- Ask specifically: does this estimate include electrical work, or is that quoted separately?
- Ask how change orders are handled - understand this upfront, not mid-project
- Confirm who does the patching and painting after demo
One thing worth saying clearly: if your closet opens into a bedroom you’re also renovating, sequence matters. Finish the bedroom’s rough work first, then do the closet. You don’t want the closet built-ins damaged by adjacent demo work.
Getting the Project Done Right
A closet remodel is one of those projects where the planning phase is worth more than most people give it. Rushed decisions on hardware finish, shelving depth, or lighting layout create problems you live with for years. Take the time to get the design right, visualize the space before ordering materials, and communicate clearly with whoever is doing the work.
Here’s the sequence that works:
- Decide the project type - reach-in upgrade, walk-in remodel, or full conversion. Know what you’re dealing with before you get any estimates.
- Lock in the adjacent room’s style - use ReVision AI on your bedroom or hallway to nail the direction. Three free transformations, no credit card needed.
- Plan lighting before shelving - decide on your light fixtures and their rough-in positions before finalizing built-in placement.
- Get at least two estimates for professional work - make sure they cover the same scope so you’re comparing apples to apples.
- Clarify the finish work - confirm who patches, primes, and paints after demo so there’s no ambiguity when the project wraps.
- Set the hardware last - knobs, pulls, and rod finishes are easier to decide after you’ve seen the built-in frames installed in the actual space.
If you want to see what your bedroom could look like before the closet design is finalized, Try it free with ReVision AI - snap a photo of the room, run a few styles, and use that as the design brief for your contractor.
Get Design Inspiration Weekly
Fresh room makeover ideas, renovation tips, and style guides delivered to your inbox.
Design tips and inspiration only. Unsubscribe anytime.
Related Articles
Retiling a Shower: When New Tile Is Enough and When It All Comes Out
Retiling a shower? A contractor explains regrout vs retile vs full tear-out, what's hiding behind old tile, what retiling costs, and how to pick the new look.
8 min readAverage Cost of Custom Cabinets: What You Pay Per Foot, and When It's Worth It
The average cost of custom cabinets runs $500 to $1,200 per linear foot installed. A carpenter explains what custom buys you, and when semi-custom is enough.
8 min readLuxury Remodeling: What You're Really Paying For (and What's Worth It)
Luxury remodeling costs more for reasons you can't see in photos. A contractor explains where the money goes, what reads high-end, and what's wasted spend.
8 min read