Kitchen Restoration: How to Keep the Old Kitchen's Bones and Lose the Wear
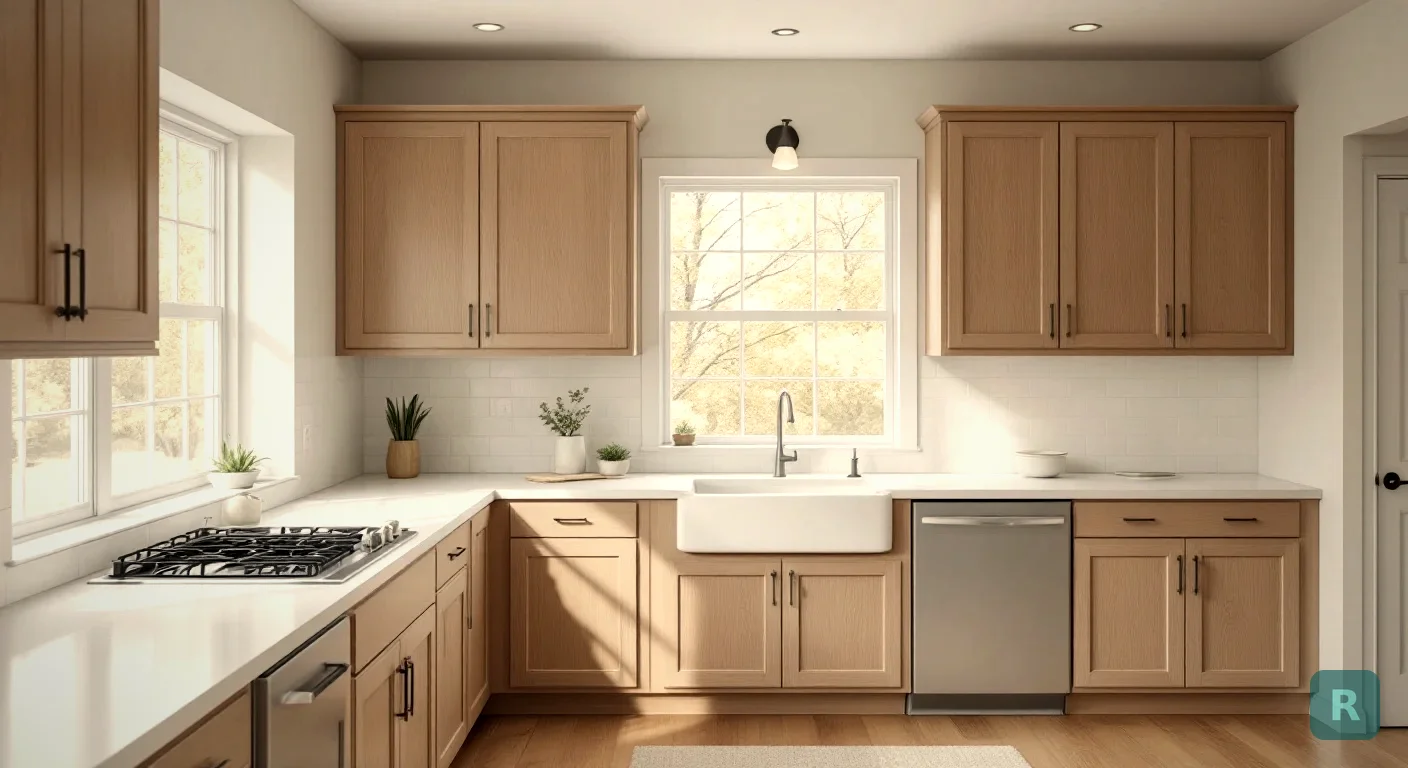
The most expensive mistake in an old kitchen is the dumpster.
I’ve watched solid wood cabinets, a cast iron drainboard sink, and oak flooring hidden under linoleum all get hauled out on demo day, then replaced with stuff that won’t last half as long. The homeowner wasn’t wrong to want a better kitchen. They just didn’t know what they already had.
Kitchen restoration is the other path. You keep what was built well, bring the finish back, and update only what has failed or what code forces you to change. This post walks through how I sort an older kitchen into keep, refinish, and replace, what has to change behind the walls even when the cabinets stay, and how to see the finished room before anyone picks up a pry bar.
The Quick Answer
- Restoration keeps the parts of an older kitchen that were built well and fixes or replaces the parts that weren’t. It’s not fire or water damage restoration, which is a mitigation job.
- Solid wood cabinet boxes, vintage steel cabinets, cast iron sinks, and hardwood floors are the usual keepers.
- The wiring is almost never a keeper. Kitchens pull more power than any other room, and old circuits weren’t built for it.
- Kitchens built before 1978 can hide lead paint, and old floor tile and adhesive can hide asbestos. Test before you sand, scrape, or break anything.
- Decide what stays first, then pick a style that works with it.
If you searched "kitchen restoration" after a fire, flood, or burst pipe, you need a mitigation company, and often your insurance adjuster, first. Wet framing and smoke damage get worse every day nobody deals with them. Once the damage is dried out and mapped, the decisions below apply to the rebuild.
Sort the Kitchen Into Keep, Refinish, and Replace
Walk the room with one question. Would this cost a lot to buy at the same quality today, and is it still sound? Two yeses make it a restoration candidate.
Here’s how the common pieces usually sort out in kitchens from the 1930s through the 1960s:
| Element | Usually keep or refinish when | Usually replace when |
|---|---|---|
| Wood cabinets | Solid wood or plywood boxes, square and tight | Particleboard boxes, swollen bottoms, water damage |
| Steel cabinets | Rust is surface only, doors close true | Rusted through, bent frames, missing parts you can't source |
| Cast iron sink | Enamel worn but the body is sound | Cracked or chipped down to the iron in many places |
| Hardwood floor | Enough wood left to sand, no soft spots | Rot near the sink or dishwasher, sanded too thin before |
| Wiring | Rarely | Ungrounded, undersized, or too few circuits |
| Supply and drain lines | Recently replaced and leak-free | Galvanized supply lines, corroded drains, old leaks |
Notice the pattern. The things you see are often worth saving, and the things you don’t see usually aren’t. That’s the opposite of how most people budget a kitchen.
Vintage Steel Cabinets
If you have metal cabinets from the late 1940s or 1950s, slow down. Brands like Youngstown, St. Charles, and Geneva made steel kitchens that are sought after by people restoring mid-century homes, and complete original sets get harder to find every year.
What restoring them involves
The usual professional route is stripping the old paint, often by media blasting, then refinishing in a spray booth or with powder coat. That’s not a weekend project with a roller, and it shouldn’t be, because old factory and repaint layers can contain lead. Shop around for a refinisher who has done steel cabinets before.
The catch is the hardware
Latches, hinges, and drawer pulls for these cabinets haven’t been made in decades. If one is missing, you’re hunting salvage yards and online listings. Count every piece before you start, and bag and label them when the doors come off.
Wood Cabinets: The Boxes Matter More Than the Doors
A lot of older kitchens have cabinets built on site out of solid wood or plywood. They might be painted six times over, with sticky drawers and worn edges, but the boxes are square and they’re not going anywhere.
That’s a restoration candidate. Strip or sand the doors, refinish them, adjust or rehang them, add soft-close hardware where it fits, and fix the drawer slides. If the face frames are good, you can even change the look completely without touching the boxes. My kitchen cupboard makeover post covers the paint, hardware, and door options, and cabinet refacing costs covers the step between refinishing and replacing.
Where I’d walk away: the base cabinet under the sink. That’s where I find water damage more than anywhere else in a kitchen, especially here in the Pacific Northwest. Pull everything out of the sink base and push on the floor of it before you decide anything.
What Has to Change Behind the Walls
This is where kitchen restoration is different from restoring a bathroom or a living room. A kitchen is the most power-hungry, water-heavy room in the house, and the systems in an older one were built for a fridge, a toaster, and not much else.
Electrical
Today’s code wants at least two 20-amp circuits feeding the countertop outlets, GFCI protection on those outlets, and dedicated circuits for things like the dishwasher and disposal. A 1950s kitchen might have two or three outlets on one shared circuit with no ground. If you open the walls at all, plan on the electrical coming up to current code, and check with your local building department about what triggers it.
Plumbing
Galvanized steel supply lines rust from the inside out. Old drains can be cracked or sagging. The cabinets can stay while the pipes behind them get replaced, but someone has to pull the sink base or open the wall to do it.
Ventilation
A lot of old kitchens have no hood, or a fan that vents into the cabinet above it. A real hood that vents outside is one of the few places I’d add something new to a restored kitchen. It protects the finish you just paid to bring back.
Test for Lead and Asbestos First
This section isn’t optional. Old kitchens are some of the most likely rooms in the house to hold both lead and asbestos, and restoration work, sanding, scraping, and stripping, is exactly what releases them.
If the house was built before 1978, assume the paint may contain lead until it's tested. Under the EPA's lead Renovation, Repair and Painting rule, a paid contractor disturbing more than 6 square feet of painted surface in a room of a pre-1978 home has to be lead-safe certified. Some states, including Washington and Oregon, run their own programs.
Old 9x9 floor tiles and black adhesive are a common asbestos warning sign, and you can't tell by looking. Leave them intact and get a sample tested by an accredited lab before you pull, grind, or break them.
Here’s the good news. Intact tile under a new floating floor, or cabinets that only get cleaned and lightly scuffed, may not need abatement at all. Testing tells you what you’re dealing with, so you can plan around it instead of guessing.
See the Restored Kitchen Before You Commit
Restoration has one big disadvantage compared to a full remodel. It’s hard to picture. Everyone can imagine a brand new white kitchen, but most people can’t imagine their 1950s cabinets in a new color with a different floor and counter, and that’s usually where the project stalls.
That’s the design gap I ran into for years with homeowners. Most contractors are builders, not designers, and old photos from Pinterest don’t show your kitchen. This is exactly why I built ReVision AI.
Shoot from the doorway in daylight, with the cabinets and floor both in frame.
Mid-Century Modern suits most 1950s and 1960s kitchens. Modern Farmhouse works with older painted wood cabinets.
Describe the pieces you're keeping, like "keep the existing cabinets and layout, new countertop and floor," so you're judging the restoration, not a different kitchen.
A picture of the finished room makes it easier for every contractor to price the same scope.
You can browse more before and after examples in the gallery. See what your kitchen could look like with its original bones kept: download ReVision AI and try 3 free transformations.
Where I’d Spend on a Kitchen Restoration
If this was my mom’s kitchen, here’s the order I’d put the money in.
Systems first. Wiring, plumbing, and venting, because nobody wants to open a refinished wall six months later. Then the cabinet boxes and doors, since they set the look for the whole room. Counters and floors come next, and that’s where you have the most freedom to go new without fighting the old character.
Keep a cushion. I tell homeowners to hold 15 to 20 percent of the budget for surprises, and an old kitchen earns that number. You don’t know what’s behind the sink base until it’s out.
Restoration isn’t always the right call, either. If the layout doesn’t work, the boxes are particleboard, or water has gotten into everything, a full kitchen redesign or a gut renovation is the honest answer. If the whole house is old, my old house renovation post covers the order of operations, and bathroom restoration applies the same keep-or-replace test to the bathroom.
Your Kitchen Restoration Checklist
- Decide whether this is restoration or damage mitigation, and call mitigation first if it's fire or water
- Walk the kitchen and sort every element into keep, refinish, or replace
- Pull everything out of the sink base and check the floor for soft spots
- Test painted surfaces for lead if the house was built before 1978
- Sample old floor tile and adhesive before anyone pulls it
- Count and bag all vintage hardware before doors come off
- Get the electrical, plumbing, and venting scoped before the finish work
- Photograph the room and see the restored version in ReVision AI
- Bring the same picture and scope to every contractor so the bids match
- Hold 15 to 20 percent of the budget for what you find behind the walls
Good kitchens from the 1940s and 1950s were built by people who took pride in their work. Keeping that is worth the extra planning. Try it free with ReVision AI and see your restored kitchen before you commit to a single change.
Get Design Inspiration Weekly
Fresh room makeover ideas, renovation tips, and style guides delivered to your inbox.
Design tips and inspiration only. Unsubscribe anytime.
Related Articles
House Modification for Aging in Place: What to Change, Room by Room
A house modification plan for aging in place: ramp math, door widths, first-floor living, kitchen changes and who helps pay, room by room, from a carpenter.
9 min readGAF Virtual Remodeler: How to Use It and What It Won't Tell You
How to use the GAF Virtual Remodeler to try shingle colors on a photo of your own house, the photo tips that matter, and what to check before you buy.
7 min readGreen Remodeling: What Actually Saves Energy, Water and Waste
Green remodeling from a third-generation carpenter: keep what works, fix the walls while they're open, pick efficient fixtures, and skip the eco upsells.
8 min read