Bathroom Restoration: What to Save, What to Refinish, and What Has to Go
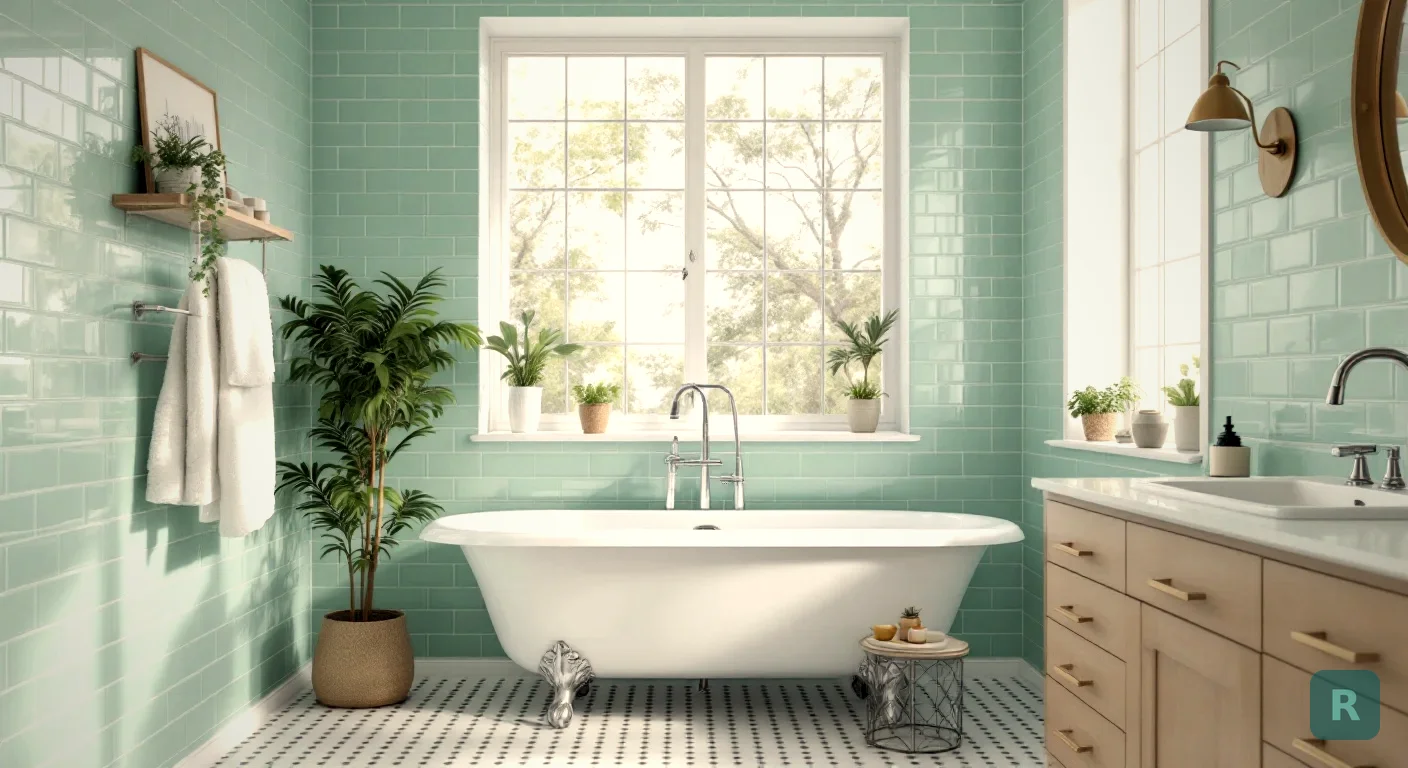
Some bathrooms don’t need a remodel. They need someone to stop ripping things out.
I’ve walked into plenty of 1940s and 1950s bathrooms where the tile was set in a thick mortar bed, the tub was solid cast iron, and the walls were dead straight. That stuff was built to outlast everything we’ve put in since. The finish is tired, the grout is dark, and the fixtures look their age, but the bones are better than what a lot of new bathrooms get.
That’s what bathroom restoration is: keeping what’s good, bringing the finish back, and replacing only what has failed. This post covers how to tell what’s worth saving, what refinishing can and can’t do, the hazards hiding in old bathrooms, and how to see the restored room before you commit. If your bathroom has an active leak or soft floor, start with my bathroom repair guide instead, because water comes first.
The Short Version
- Restoration saves the parts that were built well and refinishes or replaces the parts that weren’t. It’s not the same thing as water damage restoration, which is drying out and rebuilding after a leak or flood.
- Cast iron tubs, mortar-bed tile, porcelain sinks, and solid wood doors and trim are usually worth saving. Particleboard vanities and thin fiberglass surrounds usually aren’t.
- Refinishing is cosmetic. It won’t fix rot, a leak, or a cracked substrate.
- Old bathrooms can hide asbestos in floor tile and lead in paint and tub glaze. Test before you sand, scrape, or break anything.
- Decide what stays before you pick a style, then see the new look in your actual room.
Restoration, Renovation, and Water Damage Restoration
Three different jobs share almost the same name. Knowing which one you need tells you who to call.
| Restoration | Renovation | Water Damage Restoration | |
|---|---|---|---|
| Goal | Bring back what's there | Replace with something new | Dry out and rebuild after water |
| Demo | Minimal, targeted | Usually down to studs or close | Wet and damaged materials only |
| Who does it | Refinishers, tile and plumbing trades, a remodeler | Remodeling contractor | Mitigation company, often through insurance |
| Best fit | Older bathroom with good bones | Bad layout or failed materials | After a leak, flood, or burst pipe |
If you just had a pipe burst, you want the third column, and you want it fast. Wet framing grows mold, and damage spreads into the rooms next door if nobody dries it out. Once it’s dry and the damage is mapped, you’re back to choosing between the first two.
The rest of this post is about the first column.
What’s Usually Worth Saving
The test I use is simple. Would it cost a lot to buy this quality new, and is it still sound? If both answers are yes, it’s a restoration candidate.
Cast iron tubs
Old cast iron tubs weigh hundreds of pounds, hold heat well, and don’t flex. Getting one out often means breaking it with a sledgehammer or cutting into the tile wall around it. If the tub is solid and the only problem is worn or stained enamel, refinishing it in place is usually the smart money.
Mortar-bed tile
A lot of pre-1960s tile was set in a thick bed of mortar over metal lath. It’s heavy, it’s slow to tear out, and it rarely moves. If the tile is tight and the grout is the only thing that looks bad, a deep clean and regrout can make it look nearly new. My retiling a shower post walks through regrout versus retile versus tear-out in detail.
Porcelain sinks, solid wood, and original trim
Vintage porcelain pedestal and wall-hung sinks can be cleaned, repaired, and reused. Solid wood doors, medicine cabinets, and window trim can be stripped and refinished. These are the pieces that give an old bathroom its character, and they’re hard to buy new at the same quality.
What Usually Has to Go
Not everything old is good. Some of it was cheap when it went in, and some of it has simply worn out.
- Particleboard vanities. Once they swell from water, they don’t come back. My bathroom cabinet makeover post covers how to tell if a vanity box can be saved.
- Galvanized steel supply pipes. They rust from the inside and choke down water flow. If you’re opening walls anyway, this is the time to replace them.
- Thin fiberglass tub surrounds. These flex and crack, and the coating on a refinished fiberglass surround tends to fail sooner than on cast iron.
- Anything sitting on rot. In the Pacific Northwest, I find soft subfloor around toilets and tubs all the time. You can’t restore a finish that’s sitting on mush.
The worst restoration I see is a beautiful refinish over a problem nobody checked. Three months later the floor gives, the new coating cracks, and the homeowner pays twice.
Push on the floor around the toilet and in front of the tub. Look for soft spots, stained ceilings below, and loose tile that sounds hollow when you tap it. Any of those means the problem is underneath, and refinishing the surface won't fix it.
What Refinishing Can and Can’t Do
Tub reglazing, sometimes called refinishing or resurfacing, sprays a new coating over the old surface. It’s done in place, usually in a day or two, without tearing out a single tile.
Compare that to pulling a tub. Replacement means cutting into the surrounding wall, reworking plumbing, and retiling, which is why my bathtub replacement cost guide runs from hundreds of dollars into five figures. When the tub itself is sound, the reglaze usually wins on cost by a wide margin.
Here’s what to expect, honestly:
- It’s cosmetic. A new coating won’t fix underlying issues. Deep rust, cracks that leak, and structural damage still mean replacement.
- It’s less durable than the original enamel. Published lifespans for a professional job vary widely, roughly 5 to 15 years depending on prep and care. Abrasive cleaners shorten it.
- It can be slippery. Ask about a slip-resistant finish. Rubber suction mats can damage some coatings and void warranties.
- Prep is everything. The cheap jobs skip the etching or bonding step, and those are the coatings that peel.
Ask what stripping chemicals they use and how they ventilate. Methylene chloride strippers have been tied to refinishing worker deaths, and an open window or bath fan isn't enough ventilation. A good refinisher brings real exhaust equipment and respirators, and keeps your family out of the room.
The same coating systems can be used on old wall tile. I’m more cautious there. A sprayed tile finish covers the grout lines too, and in a wet shower it takes more abuse than a tub. On wainscot outside the shower it can hold up fine. Inside the shower, I’d rather regrout or retile.
The Hazards in Old Bathrooms
This is the part that turns a weekend project into a health problem. If your house was built before 1978, assume there’s lead paint somewhere until a test says otherwise.
- Lead paint. Common in homes built before 1978. Sanding or scraping it makes dust you don’t want your kids breathing. Contractors working on it are supposed to follow the EPA’s lead-safe rules.
- Lead in tub glaze. Some old cast iron tubs have lead in the enamel. Inexpensive lead test swabs will tell you, and it’s another reason to reglaze rather than grind on it.
- Asbestos. Old 9-inch vinyl floor tiles, the black adhesive under them, and some old joint compounds can contain asbestos. Don’t break it, sand it, or scrape it until it’s been tested.
Testing is cheap. Guessing is not. I’ve seen jobs stop for weeks because someone started demo and then found out what they’d been breaking.
See the Restored Bathroom Before You Commit
Here’s where most restorations stall. You know you want to keep the mint green tile and the old tub, but you can’t picture how it looks with new paint, new lighting, and a different vanity. So people either rip it all out or leave it alone, and both can be the wrong call.
For years, my workaround was asking clients to send Pinterest photos and then showing them pictures of my past jobs. The problem is that none of those pictures was their bathroom. That’s why I built ReVision AI.
Get the tub, the tile, and the vanity in one shot, in good light.
Mid-century and Art Deco work well with vintage tile. A custom prompt like "keep the mint tile and white tub, update the vanity and lighting" keeps the restoration honest.
A picture of what stays and what changes gets you quotes on the same scope, which makes them comparable.
Curious how your old bathroom would look restored? Try it free with ReVision AI and run 3 transformations on your own photo. You can browse real results in the gallery first, and unlimited runs are on the Pro plan.
Where I’d Spend on a Restoration
If it were my bathroom, here’s the order I’d put the money in. Fix what’s hidden first, then the things you touch every day, then the things you look at.
Plumbing and anything rotten come first, because every finish after that depends on them. Then the tub and grout, because they get wet daily. Lighting, paint, and hardware come last, and they’re where a small budget makes the biggest visual change. If the whole house is this age, my old house renovation post covers how one system tends to drag the next one along.
Your Bathroom Restoration Checklist
- Rule out active leaks and soft floors first, around the toilet, tub, and under the sink
- List what's original and sound: tub, tile, sink, doors, trim, medicine cabinet
- Test for lead and asbestos before any sanding, scraping, or demo if the house is pre-1978
- Get a reglazing quote that spells out prep, ventilation, coating type, and warranty
- Decide regrout versus retile for any tile in the shower
- Replace galvanized supply lines if any wall is being opened
- Photograph the room and try 2-3 styles that keep what you're saving
- Set a real budget and add 15-20% for what you find behind the walls
- Get at least 3 bids on the same scope and compare what each one leaves out
Get Design Inspiration Weekly
Fresh room makeover ideas, renovation tips, and style guides delivered to your inbox.
Design tips and inspiration only. Unsubscribe anytime.
Related Articles
House Modification for Aging in Place: What to Change, Room by Room
A house modification plan for aging in place: ramp math, door widths, first-floor living, kitchen changes and who helps pay, room by room, from a carpenter.
9 min readGAF Virtual Remodeler: How to Use It and What It Won't Tell You
How to use the GAF Virtual Remodeler to try shingle colors on a photo of your own house, the photo tips that matter, and what to check before you buy.
7 min readGreen Remodeling: What Actually Saves Energy, Water and Waste
Green remodeling from a third-generation carpenter: keep what works, fix the walls while they're open, pick efficient fixtures, and skip the eco upsells.
8 min read