Bathroom Cabinet Makeover: Save the Vanity or Replace It?
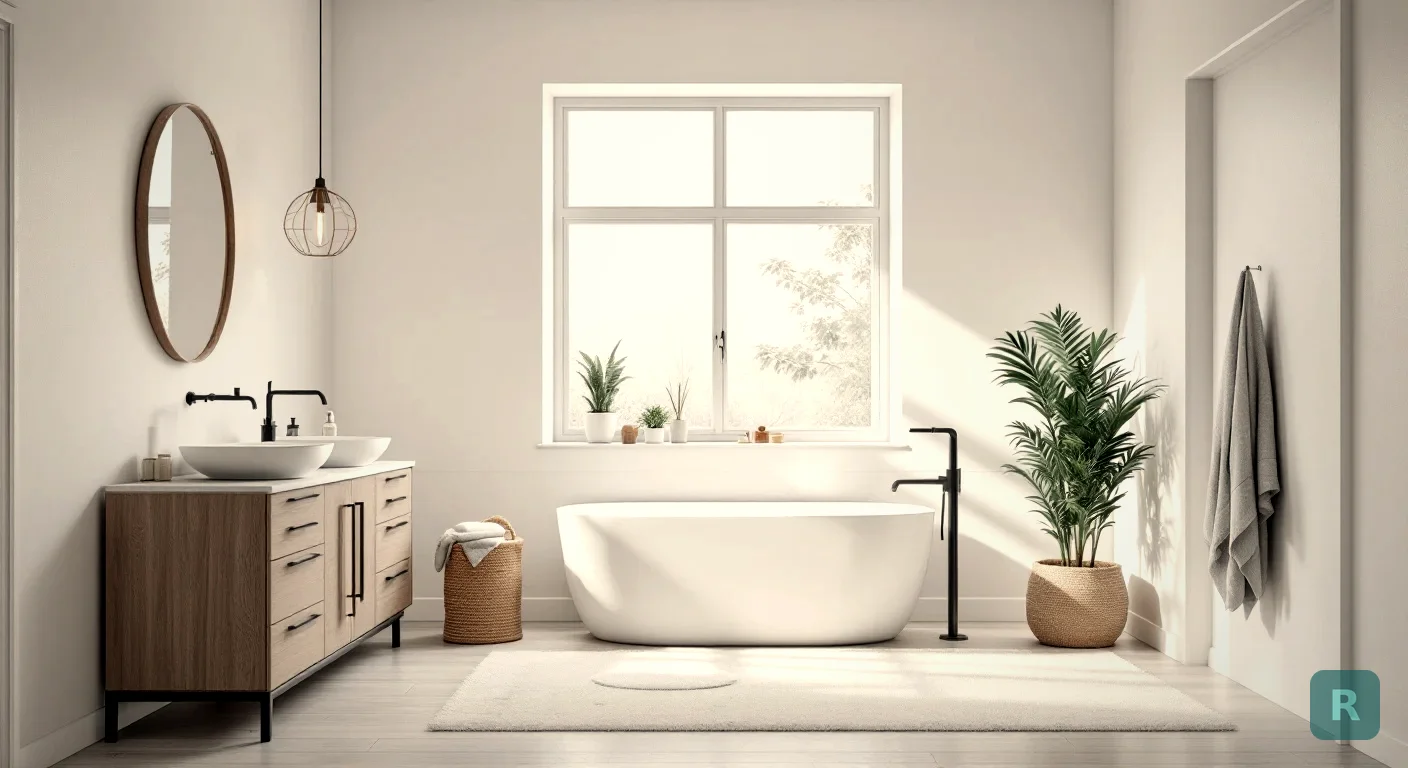
- Open the sink base before you buy anything. A swollen or soft cabinet floor means the box isn't worth painting
- A sound vanity can look new with paint, pulls, and a new top for a fraction of a replacement
- A new vanity installed runs about $300 to $3,800, with many homeowners spending around $1,500, according to HomeAdvisor
- Moving the sink is what turns a simple swap into a real plumbing job
- Look at the whole wall, not just the cabinet. The mirror, light, and faucet change the look as much as the doors do
Most people start a bathroom cabinet makeover at the paint aisle. That’s backwards.
Start under the sink, with a flashlight. The vanity is the one cabinet in the house that sits on top of a water supply, a drain, and a wet floor every single day. Before you pick a color or a pull, you need to know whether the box underneath is still solid, because no amount of paint fixes a cabinet that’s falling apart from the bottom up.
I’ve built a lot of bathrooms over the years, and here in the Pacific Northwest, water damage under the sink is everywhere. So this post goes in the order I’d actually do it on a job. Check the box, pick the level of makeover, then decide on the look.
The Five-Minute Test Before You Spend a Dime
Empty the sink base completely. Then go through this with a flashlight and your hand.
Push down near the drain and the front edge. Soft, spongy, or bubbled means water has been getting in for a while.
Check a raw edge or the back of a door. Particleboard swells when it gets wet and doesn't shrink back. Plywood and solid wood hold up much better and take paint well.
Run the water and watch the P-trap and shutoffs with a dry paper towel. A slow drip is often why the floor of the cabinet looks the way it does.
Sagging doors usually mean worn hinges, which are cheap. Drawers that fall apart usually mean the box is done.
If the box passes, you have options. If the floor is mushy and the sides are swollen at the bottom, stop planning a paint job. That cabinet is a replacement, and there may be damage under it too.
A fresh coat of paint on a vanity with a dripping trap just hides the problem for six months. Get the plumbing dry and let the cabinet floor dry out before you decide anything else.
Five Levels of Bathroom Cabinet Makeover
A makeover isn’t one job. It’s a ladder, and most people only need to climb two or three rungs to stop hating their bathroom.
| Level | What changes | Good for | Watch out for |
|---|---|---|---|
| 1. Hardware | Pulls, knobs, hinges | Dated brass or plastic pulls on a decent cabinet | New pulls with different hole spacing leave old holes to fill |
| 2. Paint | Cabinet color and finish | Solid wood or plywood boxes in good shape | Bathroom humidity, and paint that never fully cures |
| 3. New fronts | Doors and drawer faces | Changing the style, like raised panel to shaker or flat slab | Odd sizes on older vanities mean custom-made fronts |
| 4. New top | Countertop, sink, faucet | Cultured marble or laminate tops that are stained or cracked | Faucet hole spacing has to match the new top |
| 5. Replace | The whole vanity | Water damage, wrong size, or a layout that doesn't work | Flooring and wall gaps where the old cabinet sat |
The jump from level 4 to level 5 is bigger than it looks. When the old vanity comes out, you find out what’s behind it. Sometimes the floor tile stops at the cabinet’s footprint, or the wall was never painted back there. That’s not a reason to avoid replacing it, just a reason to plan for it.
Painting a Bathroom Vanity So It Actually Holds Up
Painted vanities fail for one reason more than any other: somebody painted over a dirty, glossy surface and closed the doors the next day. Bathroom cabinets get touched with wet hands, lotion, and hair products all day long. The prep is the job.
Here’s the order I’d follow:
- Pull the doors, drawers, and hardware. Label each one with tape so they go back where they came from.
- Degrease everything. Years of hairspray and soap build up a film you can’t see, and paint won’t stick to it.
- Scuff sand, don’t strip. You’re giving the primer something to grab, not taking the cabinet down to bare wood.
- Use a bonding primer made for glossy or hard-to-paint surfaces.
- Finish with a cabinet enamel, not wall paint. Two thin coats beat one thick one.
- Give it time to cure. Dry to the touch and fully hard aren’t the same thing, and many enamels take days or weeks to fully harden, longer in a steamy bathroom. Run the fan and go easy on the doors for a while.
If you want a deeper look at paint versus refinishing versus refacing, my cabinet color change post walks through it for kitchens. The same logic carries over, just with more moisture to worry about.
When Replacing the Vanity Makes More Sense
Sometimes the honest answer is to stop putting money into the old one. If the box failed the test, if it’s the wrong size for the room, or if you’re paying someone to paint it and change the top anyway, a new vanity starts to win.
Those are national numbers, and your area can land well outside them. The thing that moves the price most is the plumbing. Swapping a 30-inch vanity for another 30-inch vanity with the drain in the same spot is a straightforward job. Turning a single vanity into a double, or sliding the sink over a foot, means opening the wall and the floor, and possibly a permit.
Remember what I said about hidden work. If the old cabinet sat on a slow leak for years, the subfloor under it might be soft too. A good contractor will tell you up front that they can’t see that until the vanity is out.
The Top, the Faucet, and the Wall Behind It
A lot of vanities look tired because of the top, not the cabinet. Those one-piece cultured marble tops with the molded sink yellow and craze over time, and no paint job on the doors will distract from that.
Swapping just the top is a good middle ground when the box is solid. A few things to check first:
- Faucet holes. A centerset faucet uses holes 4 inches apart, a widespread uses holes about 8 inches apart, and some faucets only need one hole. Buy the faucet and the top together so they match.
- Size. Measure the cabinet’s outside width and depth, and leave a small overhang on the front and any open side.
- The backsplash. Some tops come with a separate backsplash piece, and removing the old one can tear the drywall behind it.
Then step back and look at the whole wall. The mirror and the light above the vanity are part of the same picture. A new light fixture and mirror can do as much for a bathroom as a full cabinet repaint, because they sit right at eye level.
That “after” keeps the original box. The money went into the things you look at every morning.
See It Before You Sand Anything
Here’s where most bathroom makeovers stall. You know you don’t like what’s there, but you can’t picture whether green cabinets will look sharp or dated, or whether black hardware will fight with the faucet you already have.
For years my workaround with clients was asking them to find photos on Pinterest and then showing them pictures of my past work. It helped, but it never showed them their own bathroom. That’s why I built ReVision AI. Take a photo of your vanity as it is right now and see it in different styles before you buy a single can of paint.
Try a couple of directions and compare them side by side. You can browse real results in the before and after gallery, and the free plan gives you 3 transformations to start. If you’re planning more than the cabinet, my small bathroom renovation on a budget post covers the rest of the room, and the kitchen cupboard makeover guide covers the same idea for kitchen cabinets.
See what your bathroom could look like. Download ReVision AI and try 3 free transformations.
Your Bathroom Cabinet Makeover Checklist
Work through it in this order and you won’t paint a cabinet you should have replaced.
- Empty the sink base and do the five-minute test on the floor, sides, doors, and drawers
- Fix any drip at the trap or shutoffs and let the cabinet dry out
- Decide your level: hardware, paint, new fronts, new top, or full replacement
- If you're replacing, measure the old vanity and note exactly where the drain and supply lines come out
- Match the faucet to the top's hole spacing before you order either
- Preview two or three looks on a photo of your actual vanity before buying paint or pulls
- Plan the mirror and light at the same time as the cabinet
- Give painted cabinets time to cure before heavy use
A vanity makeover is one of the few bathroom projects where a weekend and a good plan can make a real difference. Just check the box first. Do it right the first time, and you won’t be doing it again in two years.
Cost sources: HomeAdvisor vanity installation cost and This Old House vanity replacement cost. National ranges, so get local quotes for your job.
Get Design Inspiration Weekly
Fresh room makeover ideas, renovation tips, and style guides delivered to your inbox.
Design tips and inspiration only. Unsubscribe anytime.
Related Articles
Retiling a Shower: When New Tile Is Enough and When It All Comes Out
Retiling a shower? A contractor explains regrout vs retile vs full tear-out, what's hiding behind old tile, what retiling costs, and how to pick the new look.
8 min readAverage Cost of Custom Cabinets: What You Pay Per Foot, and When It's Worth It
The average cost of custom cabinets runs $500 to $1,200 per linear foot installed. A carpenter explains what custom buys you, and when semi-custom is enough.
8 min readLuxury Remodeling: What You're Really Paying For (and What's Worth It)
Luxury remodeling costs more for reasons you can't see in photos. A contractor explains where the money goes, what reads high-end, and what's wasted spend.
8 min read