Basement Bathroom: How to Plan the Drain, Headroom and Design Before You Build
- The drain decides everything. Figure out where the water goes before you pick a single tile
- You have three real options: gravity drain, a sealed ejector basin under the slab, or an above-floor macerating toilet
- Headroom matters. Most codes want about 6'8" over the shower and 7 feet in the rest of a finished basement
- No window means the fan and the lighting do all the work, so size both on purpose
- Pick a look you can actually picture in that low, dark room before the framing goes up
Most people planning a basement bathroom start with the fun part. Tile, vanity, maybe a walk-in shower. I get it, that’s the part you’ll see every day. But a basement bath is the one room where the fun part has to wait.
Here’s why. Everything upstairs drains down. Your basement is already down. So the first question isn’t “what style do I want,” it’s “where does the water go?” Answer that and the rest of the room falls into place. Skip it and you’ll redo the plan two or three times.
I’ve built a lot of bathrooms over 20+ years, and the ones that go sideways almost always go sideways on the stuff behind the walls and under the floor. Basements just have more of that stuff.
Start With the Drain Path
Go downstairs and look for two things. First, find where your main sewer line leaves the house. Second, look at the slab for capped pipes sticking up out of the concrete.
If the main line exits below your basement floor, you may be able to drain by gravity. That’s the simplest and quietest setup. If it exits through the wall a few feet up, gravity won’t work, and you need a pump of some kind.
Those capped pipes matter too. A lot of newer houses were built with a rough-in, meaning the builder stubbed the drains for a future bathroom. If you have one, your layout is mostly decided for you. Fighting a rough-in to put the toilet somewhere else means cutting more concrete.
| Drain option | How it works | Concrete work | Watch out for |
|---|---|---|---|
| Gravity drain | Fixtures drain downhill to a sewer line that's lower than the floor | Usually a trench to tie in | Only works if the main line is deep enough |
| Sewage ejector basin | Sealed pit under the slab collects waste, a pump lifts it up to the main line | Cut and dig for the basin and drains | Needs a vent, a dedicated circuit, and a pump that will someday need replacing |
| Upflush / macerating toilet | Unit behind the toilet grinds waste and pumps it up through a small pipe | Little or none | Pump noise, needs power, and the toilet often sits on a raised platform |
There’s no single right answer. An ejector basin is the more permanent, whole-bathroom solution. A macerating unit is the “I don’t want to jackhammer my floor” solution, and for a half bath or a guest bath that gets light use, it can make a lot of sense.
I covered the money side of this in the bathroom addition cost breakdown and the basement renovation cost guide. The short version: the more concrete you cut, the more you spend.
Basement drains, ejector pumps and vents get inspected for a reason. If sewage backs up into a finished room, you want to know it was done to code, and your insurance company will want to know too. Pull the permit.
Check Your Headroom Before You Fall in Love With a Layout
Basements are short. Then you add ducts, beams and the drain lines from upstairs, and they get shorter.
Most jurisdictions want about 7 feet in finished basement living space, with beams and ducts allowed to drop to around 6’4”. The shower is the spot that gets checked closely, which is why it should go under the tallest part of the ceiling, not under the main duct trunk.
Grab a tape measure. Measure from the slab to the bottom of the lowest joist, beam or duct in the spot you want the bathroom. Then subtract for the floor you’re putting down. Measure twice, cut once applies to planning too.
If you have a gravity drain or an ejector basin, the floor stays at slab height. If you go with an upflush unit on a platform, you lose a few inches right where the toilet sits. In a tight basement, those inches matter.
Moisture Is the Real Enemy Down There
I work in the Pacific Northwest, where water is the number one thing that wrecks houses. Rot behind walls, under sinks, around windows. A basement bathroom stacks a wet room on top of a space that’s already damp.
So the materials have to be chosen for it:
- Cement board or a foam board system behind tile in the shower, never regular drywall
- Moisture-resistant drywall on the other walls, kept up off the slab
- Porcelain tile or a rigid vinyl plank on the floor, not wood or laminate
- A real waterproofing membrane in the shower, including the curb and niche
Then there’s the fan. Most basement baths have no window, so the exhaust fan is the only thing pulling steam out. Code generally wants at least 50 cfm if it runs on demand or 20 cfm if it runs all the time, and it has to vent outside, not into the joist space.
A fan rated for 50 cfm on paper moves less once you add a long duct run, and basement runs are usually long. Buy a little more fan than the minimum and put it on a timer switch so it keeps running after the shower is off. A fan nobody runs doesn't do anything.
Designing a Bathroom With No Daylight
This is where basement bathrooms either feel like a real bathroom or feel like a closet with a toilet in it. The difference is almost all color, lighting and scale.
A few things that work in almost every basement bath:
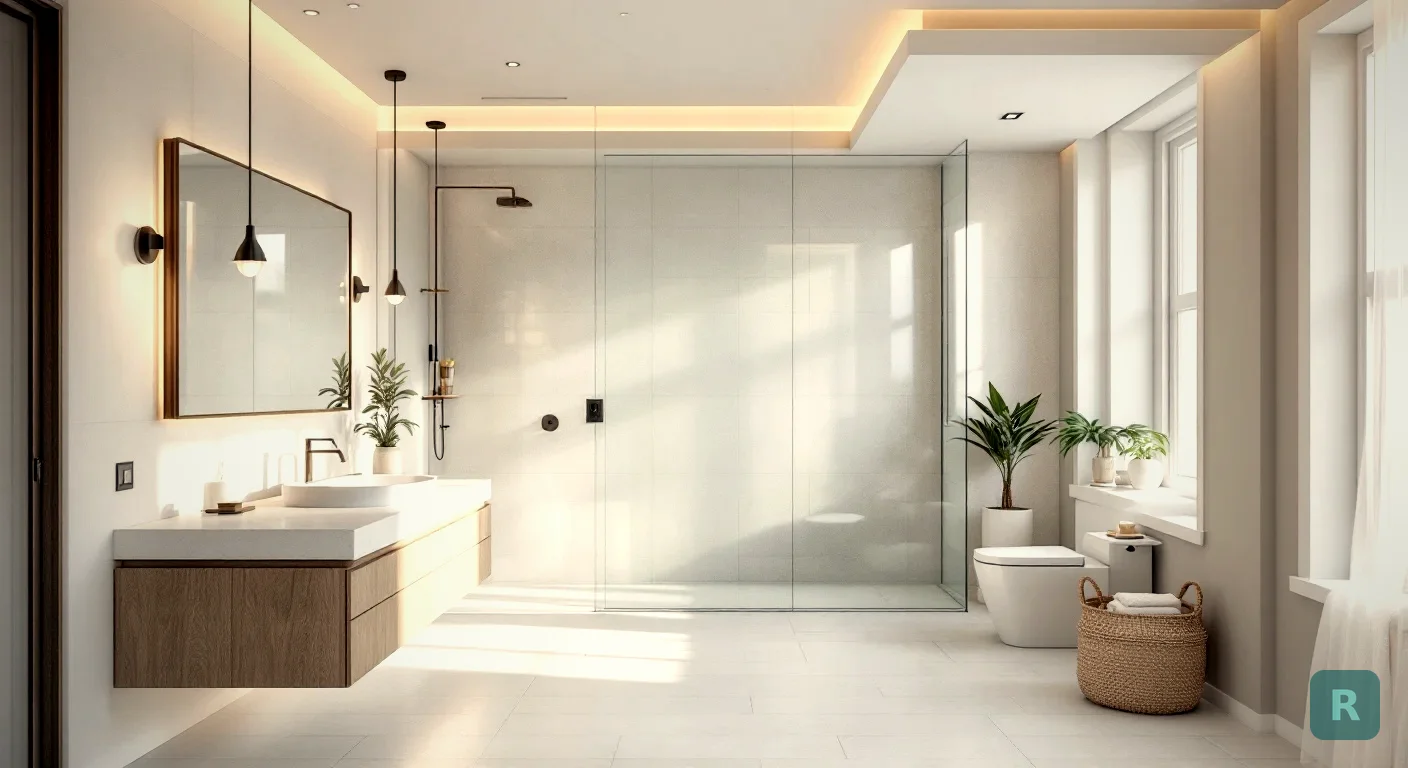
- Light walls, one dark accent. White or soft gray walls bounce what little light you have. Save the dark color for the vanity or one tile wall.
- Large-format tile. Fewer grout lines make a small room feel bigger and are easier to keep clean.
- Clear glass on the shower. A curtain cuts the room in half visually. Clear glass lets you see all the way to the back wall.
- A floating vanity. Seeing floor under the cabinet makes the room feel wider.
- Layered lighting. A ceiling light, light at the mirror, and maybe a strip under the vanity. One fixture in the middle of the ceiling makes everything look flat and gray.
If you’re also finishing the rest of the space, keep the bathroom in the same family as the main room. I wrote about that in the modern basement design guide, and the same rules about ceilings and palette apply here.
Pick a Style You Can Actually See in That Room
Here’s the problem I’ve run into with homeowners for years. Most people can’t picture a finished bathroom when they’re standing in a dark corner of unfinished concrete. For a long time my workaround was asking clients to find photos they liked on Pinterest, then showing them pictures of my past jobs. That helps, but it doesn’t show them their space.
A basement makes that gap worse. The Pinterest photo has a big window and a 9-foot ceiling. Your room has a duct soffit and a slab floor. It’s not a fair comparison, and people get let down when the finished room doesn’t match the picture in their head.
That’s why I built ReVision AI. Snap a photo of the space you’re planning, pick a style, and see what it could look like before anything gets framed. It won’t design your drain for you. It will show you whether that dark slate tile is going to swallow the room.
Industrial is a sneaky good fit for basements, by the way. You already have concrete and exposed pipe, so you’re leaning into what’s there instead of hiding it. Check out the before and after gallery to see how different styles change the same room.
Plan It in This Order
Basement bathrooms get expensive when the order gets scrambled. Choosing tile before you know where the toilet goes is how you end up paying twice. Here’s the order I’d follow if this were my mom’s house:
Locate the main line and any rough-in. Decide between gravity, an ejector basin or an upflush unit.
Map the lowest beams and ducts. Put the shower under the tallest spot.
Figure out where the exhaust duct will exit the house. Pick wet-area materials.
Try a few styles on a photo of the actual space so you know what you're building toward.
Hand every contractor the same plan so you're comparing apples to apples.
That last step matters more than people think. The cheapest bid on a basement bath often leaves out the vent, the dedicated pump circuit, or the slab patch. Then it shows up later as a change order, after your floor is already torn up.
Your Basement Bathroom Checklist
Run through this before you sign anything:
- Found where the main sewer line leaves the house and how deep it is
- Checked the slab for a capped rough-in and noted where it is
- Picked a drain option: gravity, ejector basin or upflush unit
- Measured ceiling height under beams and ducts where the shower will go
- Planned the exhaust fan size and where it vents outside
- Chose cement board or foam board plus a membrane for the shower walls
- Picked porcelain or rigid vinyl for the floor
- Planned at least two layers of lighting
- Tried your style on a photo of the real space
- Got the plumbing permit in the scope of every bid
- Added 15-20% to the budget for whatever shows up when the concrete comes out
Want to see your basement bathroom before the first stud goes up? Download ReVision AI and try 3 free transformations on a photo of your space. If you end up using it on more than one room, Pro is $4.99 a month.
Get Design Inspiration Weekly
Fresh room makeover ideas, renovation tips, and style guides delivered to your inbox.
Design tips and inspiration only. Unsubscribe anytime.
Related Articles
House Modification for Aging in Place: What to Change, Room by Room
A house modification plan for aging in place: ramp math, door widths, first-floor living, kitchen changes and who helps pay, room by room, from a carpenter.
9 min readGAF Virtual Remodeler: How to Use It and What It Won't Tell You
How to use the GAF Virtual Remodeler to try shingle colors on a photo of your own house, the photo tips that matter, and what to check before you buy.
7 min readGreen Remodeling: What Actually Saves Energy, Water and Waste
Green remodeling from a third-generation carpenter: keep what works, fix the walls while they're open, pick efficient fixtures, and skip the eco upsells.
8 min read