Garage Finishing: Insulation, Drywall, Code and Cost, in the Right Order
The Short Version
- Finishing a garage means insulation, drywall, tape, paint and lighting. It stays a garage. Turning it into a bedroom or office is a conversion, and that's a different project.
- The wall and ceiling shared with the house have fire-separation rules. Get those right before you think about paint colors.
- One 2026 price guide puts a two-car garage at $1,000 to $3,900 for drywall only, or $1,800 to $9,000 insulated and drywalled.
- Work in order: inspect, wire, insulate, hang the ceiling, then the walls, then finish. Doing it out of order means tearing out work you just paid for.
Most garages I walk into have bare studs, a few dangling bulbs, and fiberglass that’s been sagging since the house was built. Or no insulation at all. Garage finishing turns that into a clean, lit, insulated room you can actually work in, without the permits and price tag of turning it into living space.
It’s one of the better-value projects in a house. It’s also one where people skip the boring parts and pay for it later.
What “Finished Garage” Actually Means
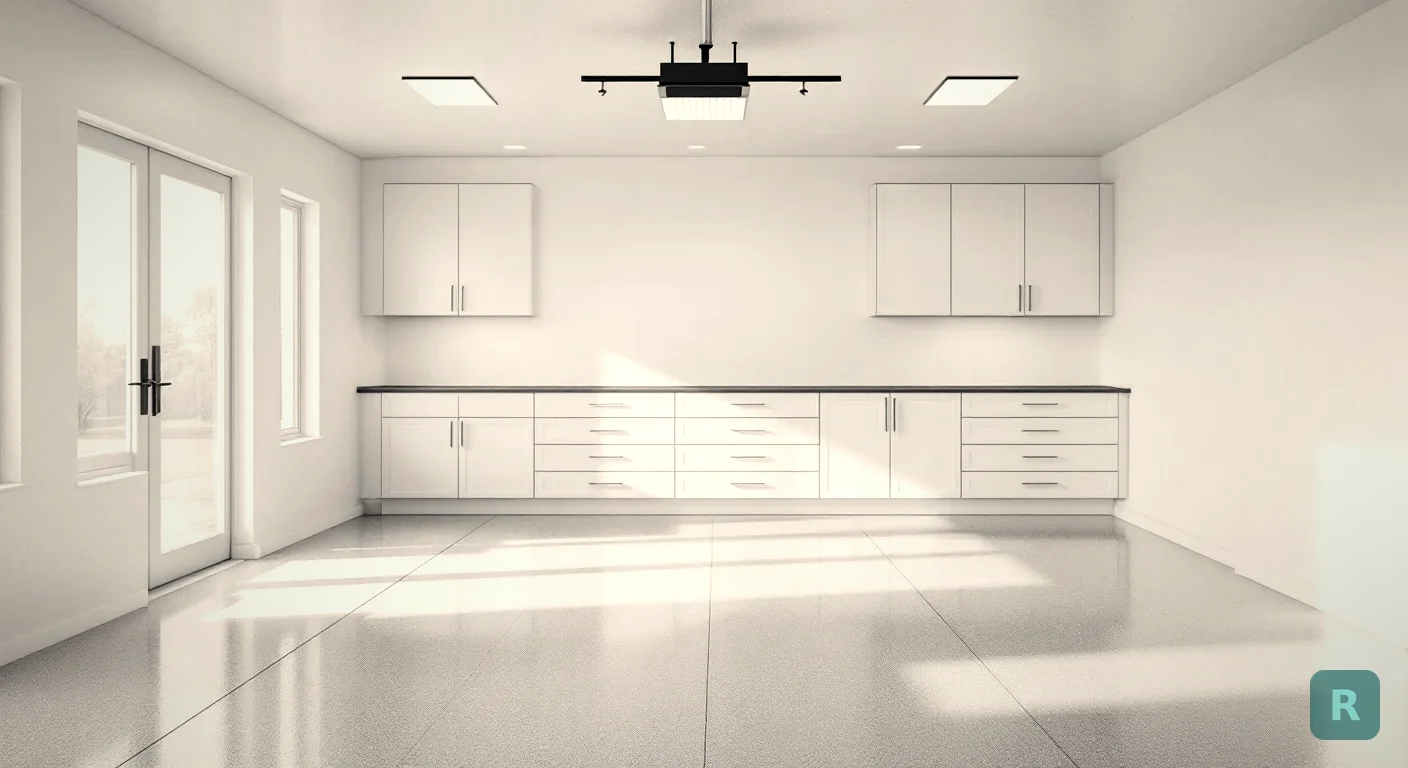
Real estate listings throw the phrase around loosely. A finished garage usually means the walls and ceiling are drywalled, taped and painted, with working lights and outlets. Some people include a coated floor and insulated door. Some don’t.
A lot of new homes come with what drywallers call a fire-taped garage. The board is hung, the joints get tape and one coat of mud, and nobody sands or paints it. It meets the fire requirement and looks unfinished. If that’s what you have, half your work is already done.
Here’s how the three common levels compare:
| Level | What's Done | What It Looks Like |
|---|---|---|
| Unfinished | Bare studs, maybe some insulation, exposed wiring | A shed attached to your house |
| Fire-taped | Drywall hung, joints taped with one coat, no sanding or paint | Gray board with mud stripes |
| Finished | Insulated, drywalled, taped, sanded, primed and painted, lights and outlets trimmed out | A clean room that happens to hold a car |
The Wall You Share With the House Has Rules
This is the part I’d want any homeowner to understand first. The garage is where you park a car full of gasoline next to the room your kids sleep in. The code treats the wall and ceiling between them as a fire barrier, and for good reason.
The rules below come from the 2021 International Residential Code as adopted with Washington State amendments, summarized in a 2024 tip sheet from MyBuildingPermit.com. Your city may have adopted a different edition, so call the building department before you buy board.
A few things on that sheet catch people off guard:
- The bedroom over the garage. If there’s a bonus room or bedroom above, that ceiling needs 5/8-inch Type X, not the regular half-inch most people grab at the store.
- The door. A hollow-core interior door between the garage and the kitchen doesn’t pass. It also can’t open into a sleeping room.
- Ducts and holes. Ducts in the garage or passing through the separation must be at least 26-gauge sheet metal with no register opening into the garage. Every hole for a pipe, wire or vent through that wall or ceiling has to be sealed with approved fire-blocking material.
Every recessed light, speaker or new outlet you add to the shared wall or ceiling is a hole in the fire barrier. Plan where those go before the drywall goes up, and seal around them the way your inspector expects.
Insulate Before You Hang Anything
Once the board is on, the walls are closed. Whatever is behind them stays there.
Out here in the Pacific Northwest, moisture is the number one enemy, and garages are where it hides. A slab wicks water, a leaky door sweep lets rain blow in, and a car drips snowmelt or road spray all winter. Covering a damp wall with insulation and drywall just gives the mold a nice dark place to grow. I’ve seen it in plenty of older houses, and the fix is always tearing out what somebody paid to put in.
So before insulation goes in, walk the room with a flashlight. Look for water stains at the bottom plate, soft wood, and gaps where daylight shows through. Fix the water first.
Then think about the big door. A garage door is the largest uninsulated opening in most houses. Insulating the walls and ceiling while leaving a thin steel door is like putting on a heavy coat and leaving it unzipped. You’ll still feel a difference, just not the one you paid for.
What Garage Finishing Costs
The most detailed current breakdown I found is a Trusscore guide updated in August 2026. One honest caveat: Trusscore sells PVC wall panels that compete with drywall, so read their drywall numbers as a vendor’s estimate, not gospel.
The same guide puts drywall at $1.50 to $4.00 per square foot installed, with labor running $50 to $100 an hour. Painting can cost about as much again if it isn’t in the quote. Ask.
Here’s a quick sanity check you can run on your own garage. A typical two-car garage of about 22 by 22 feet with 8-foot walls has roughly 570 square feet of wall once you take out the big door and a man door, plus about 480 square feet of ceiling. Call it 1,050 square feet of board. At $1.50 to $4.00 a foot, that’s roughly $1,600 to $4,200 for drywall alone. That’s my arithmetic, not a quote, and taller walls push it up fast.
Things that move the number:
- Ceiling height. A 10-foot wall needs more board and more scaffolding than an 8-foot one.
- Type X on the ceiling. It costs more per sheet and it’s heavier to hang overhead.
- Electrical. New circuits, more outlets and real lighting are usually a separate line, and they need a permit in most places.
- What’s already there. Tearing out old, wet insulation adds labor and dump fees before anything new goes up.
Finishing a Garage vs. Converting It
People mix these up all the time, and it changes the whole budget. If the room is still going to hold a car, a workbench or a freezer, you’re finishing it. If somebody’s going to sleep in it, work in it all day, or count it as square footage, you’re converting it.
| Finishing | Converting | |
|---|---|---|
| Still parks a car | Yes | Usually not |
| Permits | Often just electrical | Building permit, plans, inspections |
| Heat | Optional | Required for habitable space |
| Floor | Concrete, maybe coated | Often raised, insulated and covered |
| Garage door | Stays | Often walled in or replaced |
If you’re leaning toward the bigger job, my garage renovations guide covers conversions and permits, and the garage remodel post walks through what each use costs. This post stays on the finishing side.
The Order That Saves You From Doing It Twice
Jobs always take longer than you expect, and doing steps out of order is the fastest way to make that worse. Here’s the sequence I’d follow.
Clear the walls. Check for water, rot, pests and any wiring that looks like a past owner ran it on a Saturday.
Add circuits, outlets and lighting boxes now. Think about a freezer, a compressor, a workbench and maybe a car charger before the walls close.
Only once the room is dry. Get any required inspection signed off before insulation and board hide the work.
Ceiling first so the wall sheets hold up its edges. Use the right board in the right place, Type X where the code calls for it.
Decide how smooth you want it. A shop garage doesn't need the finish of a living room, but it should look clean.
Install fixtures and cover plates, then coat the floor and hang cabinets last so you're not dripping paint on a new floor.
See the Finished Garage Before You Pick Colors
Here’s where people stall. They know they want it finished, but they can’t picture white walls versus gray, gloss cabinets versus open shelving, or how a coated floor changes the room. So nothing happens for another two years.
Take a photo of your garage as it is right now and run it through ReVision AI. Use the Custom Prompt to describe what you’re after, something like “finished garage, white walls, gray epoxy floor, wall cabinets, bright LED lighting,” and see it on your own space instead of somebody else’s Pinterest board. You can browse before-and-afters in the gallery and the full list of looks on the styles page.
Run the same photo with three wall and floor combinations, then show them to whoever shares the garage with you. Settling the look before you start is cheaper than repainting a garage you've already finished.
Curious what yours could look like? Try it free with ReVision AI. The free tier gives you 3 transformations, and Pro is $4.99 a month if you want to keep going.
Your Garage Finishing Checklist
- Call your building department and ask which code edition they use for the garage-to-house separation.
- Check whether there’s a habitable room above the garage. If yes, plan 5/8-inch Type X on that ceiling.
- Find and fix every water problem before insulation goes in.
- Confirm the door into the house is solid or rated, self-closing and self-latching.
- Plan circuits for the freezer, tools and any future car charger now.
- Get two or three bids that list insulation, drywall, finish level and paint as separate lines.
- Visualize the finished room with ReVision AI before you choose colors and storage.
- Hang the ceiling before the walls, and coat the floor last.
Get Design Inspiration Weekly
Fresh room makeover ideas, renovation tips, and style guides delivered to your inbox.
Design tips and inspiration only. Unsubscribe anytime.
Related Articles
House Modification for Aging in Place: What to Change, Room by Room
A house modification plan for aging in place: ramp math, door widths, first-floor living, kitchen changes and who helps pay, room by room, from a carpenter.
9 min readGAF Virtual Remodeler: How to Use It and What It Won't Tell You
How to use the GAF Virtual Remodeler to try shingle colors on a photo of your own house, the photo tips that matter, and what to check before you buy.
7 min readGreen Remodeling: What Actually Saves Energy, Water and Waste
Green remodeling from a third-generation carpenter: keep what works, fix the walls while they're open, pick efficient fixtures, and skip the eco upsells.
8 min read