Fireplace Makeover Ideas: What Actually Works, What It Costs, and How to See It First
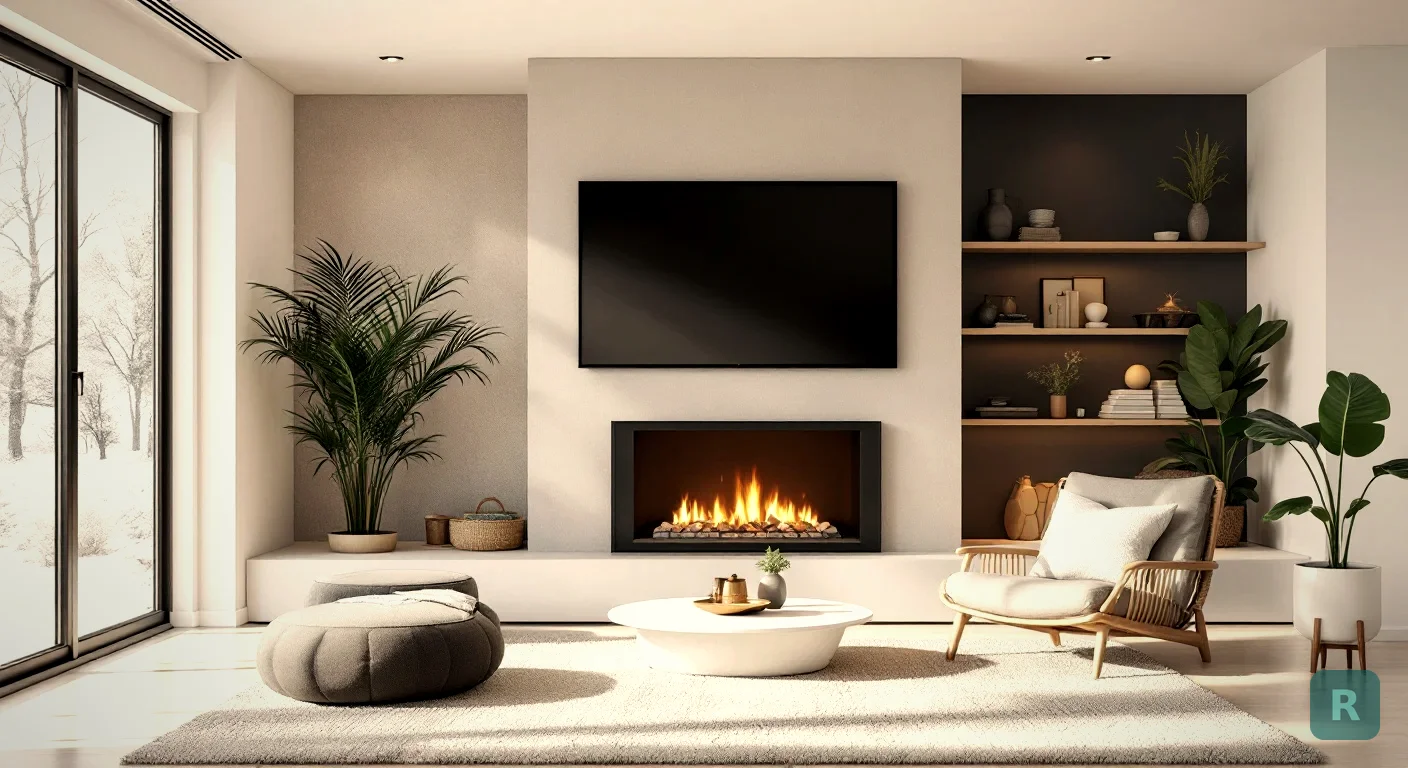
The fireplace is the one thing in a living room nobody can ignore. It sits dead center, it’s usually the biggest visual mass in the room, and if it’s dated, the whole room reads dated. I’ve walked into houses with brand new floors, fresh paint, nice furniture, and a 1987 red brick fireplace with a builder-grade oak mantel just sitting there ruining it.
Good news: this is one of the highest-payoff, lowest-cost updates in the house.
Key Takeaways
- Most fireplace makeovers are surface work, which is why they run hundreds instead of tens of thousands.
- Paint or limewash on brick is the cheapest real change you can make, often under $300 in materials.
- Tile and stone veneer are the big-visual-change options, and both need a sound substrate underneath.
- The firebox and the surround are two separate projects. Know which one you’re doing.
- Pick your look before you buy anything, because the mantel, the tile, and the hearth all have to agree.
A fireplace makeover changes the focal point of the room without moving a wall, touching plumbing, or pulling a full remodel permit. Dollar for dollar, it's the best visual return I know of in a living room.
Start by Figuring Out What You’re Actually Touching
People say “fireplace” and mean five different things. Before you price anything, separate them out:
- The firebox. The actual burn chamber. Gas insert, wood-burning, or electric.
- The surround. The vertical face around the opening. This is what people look at.
- The hearth. The floor pad in front, raised or flush.
- The mantel. The shelf and any legs or columns under it.
- The chimney chase. The wall structure running up, sometimes to the ceiling.
A makeover almost always means the surround, hearth, and mantel. Leave the firebox alone unless it’s failing, because that’s where the money and the permits live.
If you have a wood-burning fireplace you actually use, get the flue inspected first. I've seen homeowners tile a beautiful surround over a chimney with a cracked liner, then find out they can't legally burn in it. Inspection first, finish second.
Paint and Limewash: The $200 Version
If your brick is structurally fine and you just hate the color, paint is the answer. It’s not a compromise. Painted brick has been a legitimate design choice for a hundred years.
Limewash is the one I steer people toward most often. It soaks into the brick instead of sitting on top like a plastic film, so you keep the texture and the mortar lines. It ages softly instead of chipping. You can wipe it back while it’s wet to control how much brick shows through, which means you get a custom result without hiring anyone.
Standard masonry paint is the other route. Fully opaque, uniform, modern. It hides ugly brick completely, which is sometimes exactly what you want.
One warning. Painting brick is close to permanent. Stripping paint off masonry is miserable, expensive work, and it usually damages the brick face. Be sure.
Tile: Where Most Makeovers Land
Tile is the sweet spot. It’s the biggest visual change per dollar, and it works over brick, over drywall, over old stone, over almost anything solid.
The looks that hold up:
- Vertical stacked tile running floor to ceiling. Makes the room feel taller and reads modern without being trendy.
- Zellige or handmade-look ceramic. Irregular, glossy, catches light. Warms up an otherwise cold room.
- Large-format porcelain slabs. Minimal grout lines, very clean, very current. More expensive to install because the pieces are heavy and unforgiving.
- Herringbone. Adds movement in a small area. Works well on a narrow surround.
Those numbers assume a sound substrate. If the existing brick is spalling or the drywall behind is soft, add prep.
Also, check your local clearance requirements for combustible materials near the firebox opening. Tile is non-combustible, but the mantel above it may not be, and there’s usually a required distance.
Stone Veneer and the Full Floor-to-Ceiling Look
This is the one people pin on Pinterest. Stacked stone or limestone running the full height of the wall, chunky wood mantel, hearth flush with the floor.
It looks incredible. It also costs more and weighs more.
Manufactured stone veneer is what most makeovers use, not real stone. It’s cast concrete, roughly an inch thick, and it goes up on a scratch coat over lath. It’s a fraction of the weight of full-bed stone, which matters because a real stone facade may need footing support your framing doesn’t have.
| Option | Material Cost / sq ft | Difficulty | Best For |
|---|---|---|---|
| Limewash / paint | $1 - $3 | Easy DIY | Brick you dislike but that's in good shape |
| Ceramic tile | $5 - $25 | Moderate DIY | The biggest change for the money |
| Porcelain slab | $25 - $60 | Pro only | Modern, minimal grout lines |
| Manufactured stone | $8 - $20 | Pro recommended | Full-height rustic or traditional |
| Natural stone | $20 - $50 | Pro only | High-end builds with structural support |
| Plaster / microcement | $6 - $15 | Pro recommended | Smooth monolithic modern look |
The Mantel Is Doing More Work Than You Think
Swap nothing but the mantel and a lot of fireplaces improve immediately. The dated ones are almost always the same thing: an oak or MDF shelf with fussy corbels and a stained finish that doesn’t match anything else in the room anymore.
Three directions that work:
- A solid timber beam. Rough-sawn Douglas fir or reclaimed oak, six to eight inches thick, floating on hidden steel brackets. Warm, heavy, no visible hardware.
- No mantel at all. Run the tile or stone clean to the ceiling. Very modern, very calm, and honestly the easiest to execute well.
- A simple painted shaker shelf. Clean lines, painted the trim color. Quiet and traditional without the 1990s fussiness.
I’d add one practical note from job experience: a floating beam mantel needs blocking behind the wall or serious anchors into masonry. People load these things up with heavy decor and a TV bracket above. Anchor it like it’s going to be tested, because it will be.
Mounting a TV Above It
Everybody wants to. Two things to get right.
Heat is real. Wood-burning and older gas fireboxes push a lot of heat straight up the face. If you’re mounting a screen above, you want a mantel or a heat shield deflecting that plume out into the room, and you want to check surface temps after a real burn, not a five-minute test.
Height is the other one. A screen mounted above a standard mantel usually sits too high for comfortable viewing from a sofa. If you’re planning this, look at a pull-down articulating mount, or accept a lower mantel line.
If you're tiling to the ceiling anyway, drop a length of flexible conduit behind the finish before you close it up. Costs almost nothing during the job and saves you cutting into brand new tile later to hide a cable.
See It Before You Commit to It
Here’s where most fireplace makeovers go sideways. The homeowner picks the tile at the store under fluorescent lights, holds a four-inch sample against the brick, and tries to imagine 40 square feet of it running to the ceiling with a new mantel and the existing floors and the existing sofa.
Nobody can do that. I’ve been building for twenty-plus years and I still can’t fully do it in my head.
This is the design gap I’ve watched for two decades. Most contractors are builders, not designers. Most homeowners know what they don’t like and can’t picture what they want. Historically the answer was “go find some Pinterest photos,” which shows you somebody else’s living room, not yours.
That’s exactly why I built ReVision AI. Take a photo of your actual fireplace, pick a direction, and see your room with the change applied. Not a mood board. Your wall, your floors, your ceiling height.
Browse the before and after gallery to see how far a single room can move, then try it free with ReVision AI on your own fireplace. Three transformations are free.
What Goes Wrong
A short list of the mistakes I see repeat:
- Matching the tile to the current sofa. Furniture leaves. The fireplace stays for 20 years. Pick for the room, not the couch.
- Stopping the tile at mantel height. Half-height surrounds look unfinished in rooms with tall ceilings. Either go to the ceiling or stop at a deliberate line, not an accidental one.
- Ignoring the hearth. A raised 1980s brick hearth under a beautiful new tile surround still reads 1980s. Flush hearths look dramatically more current.
- Grout color as an afterthought. Grout is a design decision. Matching grout makes the field read as one surface; contrasting grout makes the pattern the star.
- Skipping the clearance check. Combustible mantel too close to the opening is a code issue and a real fire risk.
Your Order of Operations
Flue, firebox condition, substrate soundness. If any of it is bad, that changes the budget before aesthetics enter the picture.
Shoot the fireplace straight on in daylight, then run it through a few styles so you're choosing between real options instead of guessing.
These three have to agree. Picking them one at a time is how you end up with a mismatched focal point.
Tile shifts color badly between showroom lighting and a north-facing living room. Look at it on the wall, morning and evening.
Check the required distance from the firebox opening to any combustible material before the mantel goes up, not after.
- Flue and firebox inspected if it's a working wood-burner
- Substrate confirmed sound, prep cost added if not
- Surround, hearth, and mantel chosen as one package
- Grout color selected on purpose
- Conduit run if a screen is going above
- Combustible clearances verified against the firebox spec
- 15 percent contingency in the budget, because there is always something
A fireplace makeover is one of the few projects where a weekend and a few hundred dollars genuinely changes how a room feels. Just decide what you want before you start swinging, because the only expensive version of this job is the one you do twice.
Get Design Inspiration Weekly
Fresh room makeover ideas, renovation tips, and style guides delivered to your inbox.
Design tips and inspiration only. Unsubscribe anytime.
Related Articles
Sunroom Remodel: How to Turn a Three-Season Room Into Space You Actually Use
A contractor's guide to a sunroom remodel: three-season vs four-season, glass and insulation costs, heating options, rot risks, and how to see the finished room first.
8 min readBathroom Addition Cost: What Adding a Bathroom Really Runs
A contractor's breakdown of bathroom addition cost: the three ways to add a bath, why the drain path sets the price, and the hidden costs that show up after demo.
8 min readPantry Remodel: What It Costs and What Actually Works
A contractor's guide to a pantry remodel: the three types and what each costs, shelf depths that actually hold food, lighting nobody budgets for, and how to see it first.
8 min read