Free AI Decor Generator: What You Actually Get Without Paying
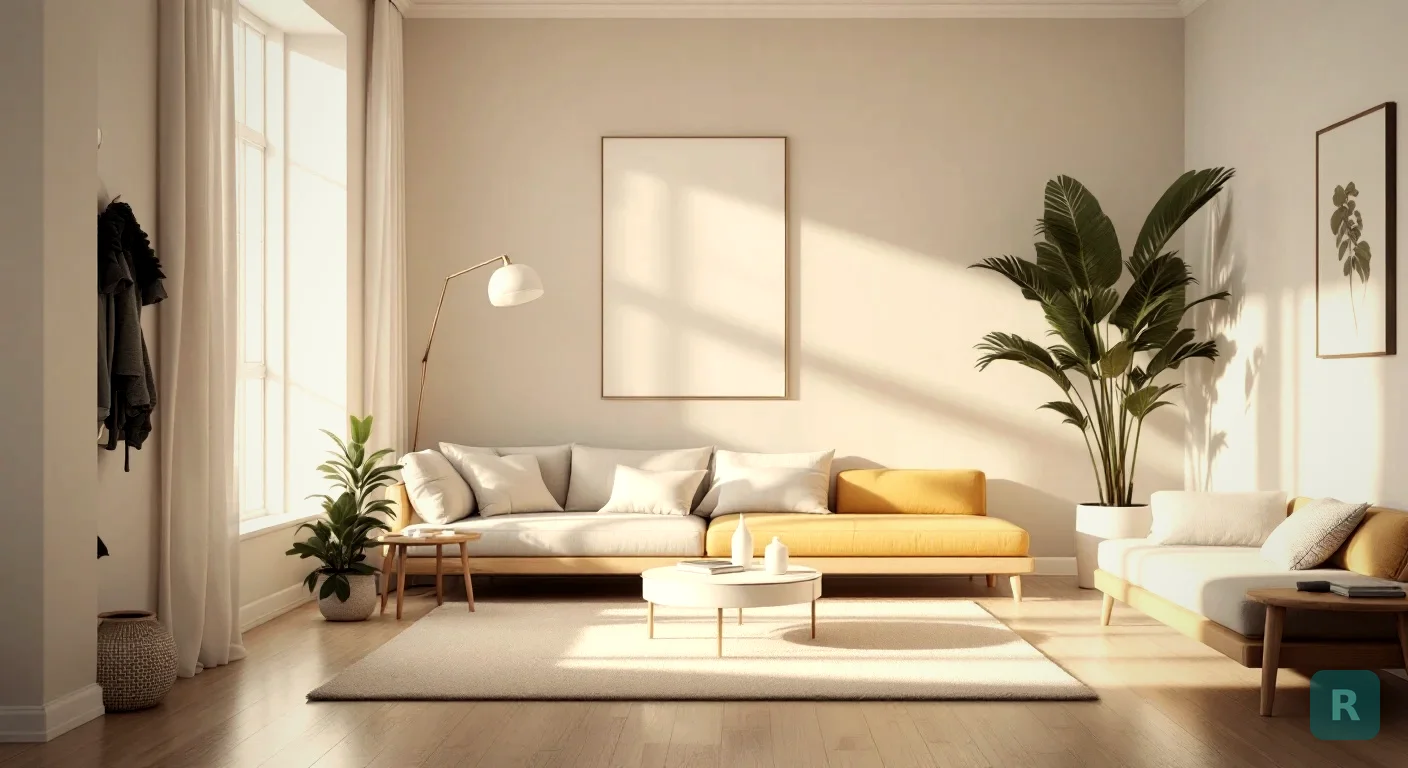
Search “free AI decor generator” and you get about forty results that all promise the same thing. Free. Unlimited. Instant. Then you upload a photo of your living room and hit a signup wall, a watermark, or a credit counter that already says zero.
I have spent twenty years building kitchens and bathrooms, and the last couple of years building software. So I have opinions on both halves of this. Free is almost never free, but that does not mean the free tier is useless. You just have to know what it is actually for.
- Most free AI decor tools give you a handful of renders, not unlimited ones
- A free render is worth the most when you use it to kill an idea, not confirm one
- Photo quality decides output quality more than the style you pick
- No AI decor generator prices the work or knows what is behind your walls
What an AI Decor Generator Actually Does
You give it a photo of a real room. It gives you back the same room, same walls, same window placement, restyled. New cabinets. Different flooring. A paint color you were scared to commit to.
That is the whole trick, and it is a bigger deal than it sounds. The old way was mood boards, and mood boards lie. A photo of somebody else’s beautiful kitchen in Nashville tells you nothing about whether that look works in your 1962 rambler with the one small north-facing window.
For years my workaround was asking homeowners to go build a Pinterest board, then showing them photos of my own past jobs and saying “something like this, but in your space.” It worked, sort of. It also lost me jobs, because people cannot commit to a picture they have to imagine.
Where Free Stops and the Paywall Starts
Every tool in this space runs on image generation that costs the company real money per render. So “free” always has a shape to it. It is usually one of these four.
| Free model | What it looks like | The catch |
|---|---|---|
| Credit-limited | A set number of free renders, then a subscription | Honest, but you have to spend the credits well |
| Watermarked | Unlimited renders with a logo stamped across them | Useless for showing a spouse or a contractor |
| Low-resolution | Free output at a size too small to judge detail | You cannot see grout, hardware, or trim |
| Email-gated | Free after you hand over contact info | You are the product, and the inbox proves it |
ReVision AI runs the first model. You get three transformations free, and Pro is $4.99 a month if you want more. I picked that on purpose. I would rather tell you the number up front than watermark your bathroom.
The full breakdown is on the pricing page if you want to see exactly where the line sits.
How to Not Waste Your Free Renders
Here is the part nobody tells you. The photo you upload matters more than the style you pick. Bad input, bad output, every time. Measure twice, cut once applies to this too.
Before you spend a single free credit, run through this:
- Shoot in daylight with the overhead lights off, not at 9pm under a yellow bulb
- Stand in the doorway or a corner so the camera sees two walls and the floor
- Get the whole room in frame, including where the floor meets the wall
- Clear the counters and the floor, because AI will happily restyle around your laundry basket
- Hold the phone level, not tilted down at the ground
That last one gets people constantly. A tilted photo gives the model a warped sense of the room’s geometry, and you get back a render with a countertop that runs uphill.
Do not spend all three renders on styles you already know you like. Spend one on the style you are afraid of. Dark cabinets in a small kitchen, a bold tile, an open shelf wall. Ruling out a bad idea for free is worth more than confirming a good one.
Which Styles Read Best in a Generated Photo
Some design styles translate better than others in a restyled photo, and it comes down to how much of the look lives in materials versus in objects.
Styles built on surfaces render beautifully. Paint color, cabinet face, flooring, counter material, tile. The AI is very good at swapping a surface and keeping the light believable.
Styles built on collected objects are harder. Bohemian looks great, but half of what makes it work in real life is stuff you own and arranged over years. Treat those renders as a direction, not a shopping list.
You can see how the same room lands across different styles in the before and after gallery. That comparison is usually more useful than reading style descriptions, because you see what actually changes.
What a Free Decor Generator Will Never Tell You
This is where I have to be straight with you, because I am on the construction side of this too.
An AI render does not know that the wall you want opened is load-bearing. It does not know your 1970s panel has no room for the circuit that island needs. It does not know about the rot behind the tub surround, which I have personally found more times than I can count in Pacific Northwest homes.
A decor generator will show you a kitchen that costs $12,000 and one that costs $80,000 with the same amount of effort, and it will not flag the difference. A mid-range kitchen remodel around here starts near $45,000. Get a real bid before you fall in love with a render.
Free tools are great at the visualization problem. They are useless at the scope problem. Those are two different jobs, and confusing them is how people end up with a design they cannot afford and a contractor they think is gouging them.
Both of those describe the same room. The gap between them is the render. The gap between the render and reality is cabinets, counters, flooring, electrical, and about three weeks of your kitchen being unusable. Nobody tells you that part on TV.
How I’d Use This If It Were My House
I have sat at enough kitchen tables to know that the hardest moment in a remodel is not demo day. It is the week before you sign anything, when you are trying to spend real money on something you cannot picture.
That is the exact moment a free render earns its keep. Not to design the whole project. Just to get you from “I don’t know” to “not that, definitely this.”
Then you take that image to a contractor and have a much shorter, much cheaper conversation. If this were my mom’s house, that is the order I would do it in.
Your First Three Renders, In Order
- Shoot the room properly first. Daylight, corner angle, level phone, clear floor. This costs you nothing and doubles the quality of everything after it.
- Render the style you think you want. Confirm the instinct or find out it looks wrong in your actual light.
- Render the style you are afraid of. Darker, bolder, or more minimal than you would normally pick. This is the credit that surprises people most often.
- Render the compromise. Whatever sits between the first two. This is usually the one people actually build.
- Take the winner to a real contractor. Ask what it costs, what is behind the walls, and what the timeline really is before you spend another dollar.
See what your room could look like before you commit to anything, download ReVision AI and try 3 free transformations. No watermark, no email wall, no guessing.
Get Design Inspiration Weekly
Fresh room makeover ideas, renovation tips, and style guides delivered to your inbox.
Design tips and inspiration only. Unsubscribe anytime.
Related Articles
Bathroom Designers: Who to Hire, What They Charge, and How to Prep
Bathroom designers come in four kinds and charge four ways. A contractor explains which one fits your remodel and how to show up ready to the first meeting.
8 min readApartment AI: How to Redesign a Rental You Are Not Allowed to Renovate
Apartment AI tools let renters see a redesigned space before spending a dollar. A contractor explains what actually changes a rental and what just wastes money.
8 min readAI Restaurant Design: Testing a Dining Room Before You Gut It
AI restaurant design turns a photo of your dining room into a finished concept in seconds. A remodeler's honest take on what it solves and what it hides.
8 min read